.avif)
Typography plays a crucial role in web design, and using custom fonts can set your website apart. And apart from this, learning how to add fonts to Webflow will save you from traditional website styles.
Tired of using the same old fonts? Ready to learn how to add fonts to Webflow and boost your design’s appeal?
In this guide, we'll take you through the step-by-step process of adding and styling custom fonts in Webflow.
Why Custom Fonts Matter for Web Design
One of the most important parts of using typography is easily communicating the relevance of enhanced user connection and design. Typography conveys personality, tone, and style, setting a brand apart from competitors and making it more recognizable.
Choosing suitable font styles, sizes, and spacing can greatly enhance the readability and comprehension of the content, ensuring that users can absorb information effortlessly.
Having custom fonts in your web design is very important for creating a memorable and practical user experience. They help your brand identity, improve readability, and foster emotional connections, which leads to better engagement and user satisfaction.
It is also important to mention that using typography and custom fonts has SEO benefits. Even though fonts don't directly affect SEO, a strict site with readable typography can improve user engagement metrics, positively impacting search rankings.
Step-by-Step Process of Adding and Styling Custom Fonts in Webflow
Step 1: Choose The Perfect Custom Fonts
- Before you start, select the custom fonts you want to use on your website. You can find these fonts from various sources, including Google Fonts Webflow, Adobe Fonts Webflow, or premium font providers.
- Download the font files (typically in .woff or .woff2 format) to your computer.
Step 2: Access Your Webflow Project
- Log in to your Webflow account.
- Open the Webflow project where you want to use custom fonts.
Step 3: Navigate to Project Settings
- Inside your project, click on "Project Settings" located in the left panel.
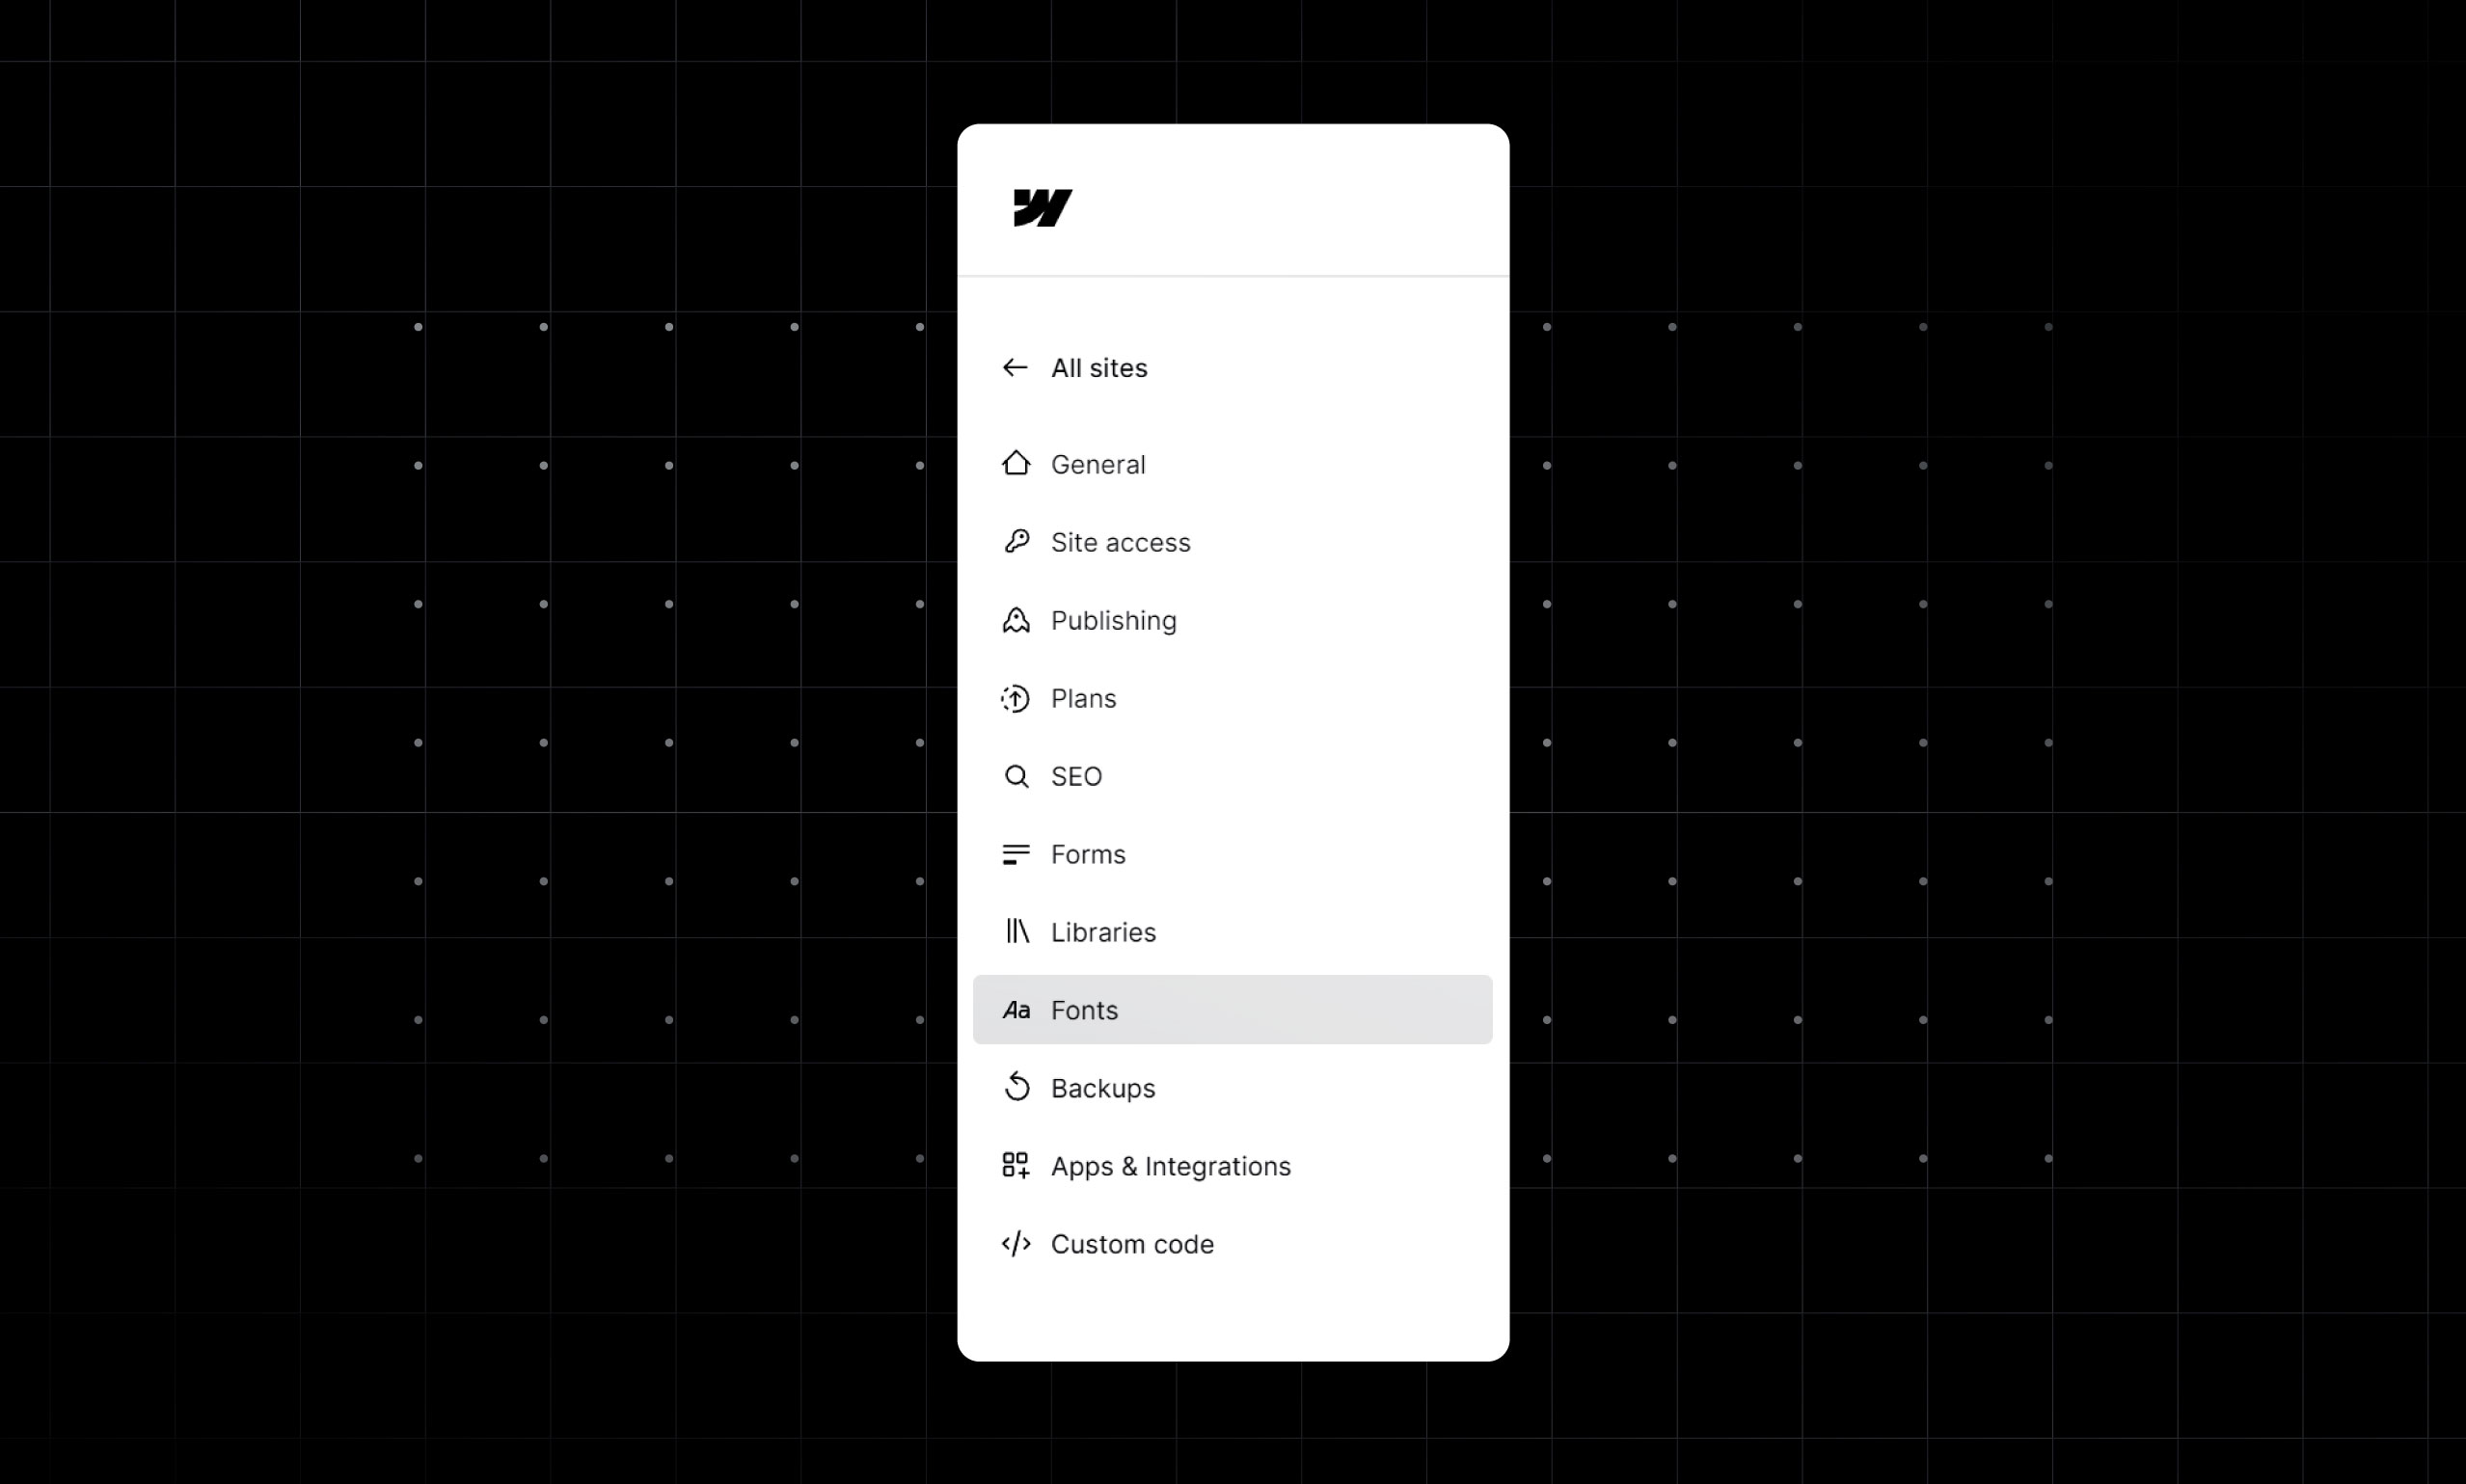
Step 4: Go to Fonts Settings
- In Project Settings, select the "Fonts" tab.
Step 5: Upload Your Custom Fonts
- Google Fonts
- You can look for google fonts from the list.
- Custom fonts
- Click the "Upload Fonts" button.
- A window will appear allowing you to upload your custom font files. Drag and drop the font files or select them from your computer.
Step 6: Define Font Variants For Precision
- After uploading the font files, Webflow will prompt you to define the font variants (e.g., regular, bold, italic). Make sure to correctly specify the variants for each font.
Step 7: Assign Fonts to Styles
- With your custom fonts uploaded, you can now assign them to different styles on your website.
- Select the styles you want to apply the font to, such as headings, paragraphs, or links.
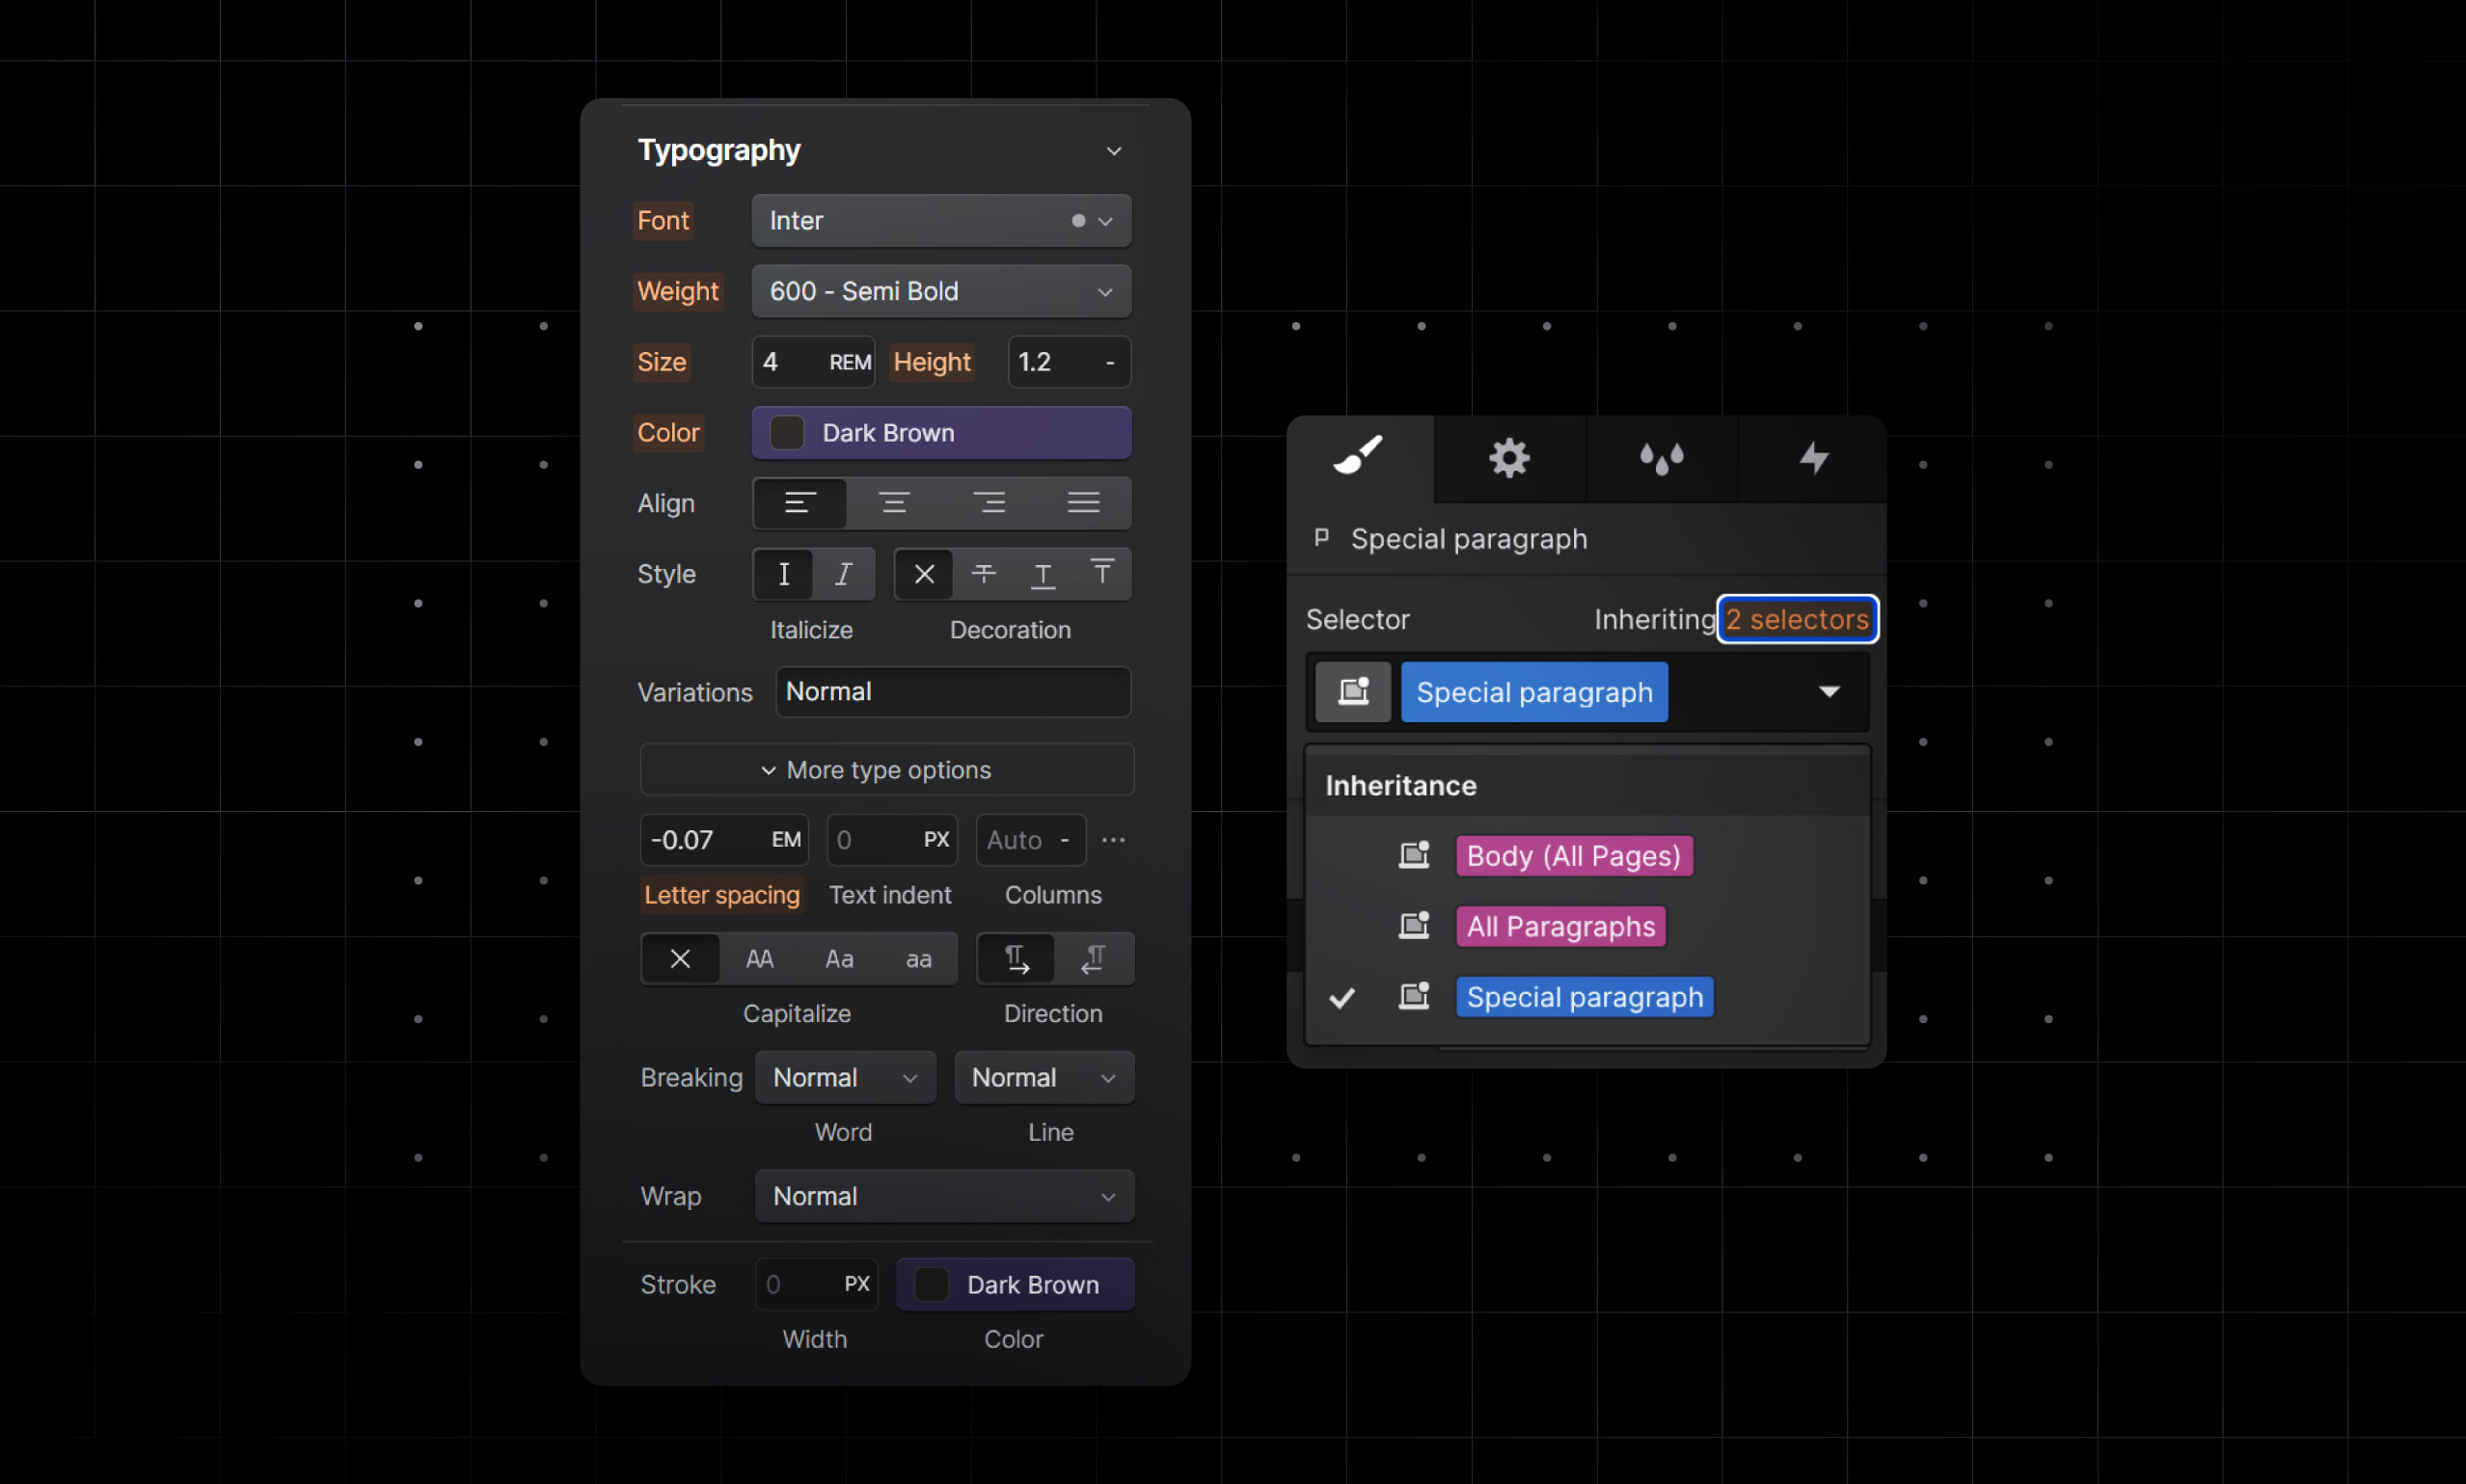
Step 8: Style Your Text Elements For Maximum Impact
- Once fonts are assigned to your styles, you can style text elements using the custom fonts.
- Go to your project's pages and select the text elements you want to style.
- In the right panel, under the "Typography" section, choose your custom font from the dropdown menu.
- Customize font size, line height, letter spacing, and other styling options as desired.
Step 9: Publish Your Project
- After adding and styling your custom fonts, make sure to save your changes.
- Publish your project to ensure your custom fonts are visible on your live website.
Step 10: Test Your Website
- Open a web browser and navigate to your live website to see your custom fonts in action.
Bonus Tips for Using Custom Fonts in Webflow
Optimize Font Loading for a Faster Website
We all know how important it is for a website to load quickly. When adding custom fonts to your Webflow site, don't forget to optimize their loading. Use only the font weights and styles you actually need to keep your site running smoothly.
Consider preloading or lazy loading fonts through Webflow's built-in options. A fast site means happy visitors!
Choose Fonts That Work Well Together
Font pairing is a subtle art. You want your headers and body text to complement each other, not clash. Sticking to just two or three font families will help your site feel clean and cohesive.
Bold headlines combined with simple, easy-to-read body text create a nice balance that enhances readability without overwhelming your design.
Prioritize Accessibility
A beautiful site isn’t much good if people can’t read it. Make sure your custom fonts are legible on all devices, from phones to desktops. Keep an eye on font sizes, line spacing, and contrast.
Webflow lets you tweak fonts for different screen sizes, ensuring your design looks good and works for everyone, including those with visual impairments. While styling custom fonts, do not forgot the elements like Webflow custom dropdown or dropdown menu Webflow.
Conclusion
You’ve just unlocked the ability to add and style custom fonts in Webflow, giving your website a distinct and polished typographic touch. Custom fonts are a powerful tool to showcase your brand’s personality and make your web design stand out.
As you work with fonts, ensure they align with your brand’s tone and are used consistently across your site for a cohesive look. Don’t hesitate to explore different font pairings and styles to find the perfect combination that enhances readability and aesthetics.
With custom fonts, you’re not just designing a website you’re creating an experience that leaves a lasting impression on every visitor.
FAQs
How do I add custom fonts in Webflow?
It’s pretty simple. Go to your Project Settings, head to the Fonts tab, and upload your custom font files (like TTF or WOFF). You can also integrate fonts from Google Fonts or Adobe Fonts directly into Webflow, giving you a ton of flexibility for your typography.
How do you change the font size in Webflow?
To tweak the font size, just click on the text element you want to style in the Webflow Designer. On the right, in the Typography section, you’ll find the font size controls. Adjust the size by typing in a value or using the up/down arrows to get it just right.
How do I style text in Webflow?
Webflow makes text styling super easy. Select your text element, and then head over to the Typography panel on the right. Here, you can customize everything from the font family to size, weight, color, and even letter spacing.
What font does Webflow use?
By default, Webflow uses “Segoe UI” font as the primary font.