Getting Started with Webflow: A Beginner's Guide
Are you a designer interested in changing your designs to a website yourself? Are you familiar with traditional coding but looking for something faster and easier? Webflow may be the answer to both of your questions.
One way to attract engaging website visitors is by making it visually appealing and functional. This would always make a huge difference, as Webflow is a tool that helps you build the game by allowing you to build, design, and launch your website without writing code.

Webflow and its advantages over traditional coding
Webflow is a great tool for creating responsive designs, and that is why it can be integrated with the following: Webflow is also a powerful tool with other advantages; the following are some of them.
The first thing that may come to mind is that it is an extensive platform that offers everything a user needs, including Webflow hosting and integrating with payment and E-commerce terminals.
Compared with traditional coding, Webflow is faster, easier to use, and cheaper since it does not require several tools and services. Some of the CMS features offered by Webflow, such as dynamic content and a customer management system, make it a great and effective tool for developing good-looking websites.
Key Features of Webflow
Visual Designer
One of the key features of Webflow is that it eliminates the need to code before designing a website. This has been eliminated, and you can now build a website quickly.
Webflow allows you to preview your work before pushing live. You get to see what your website looks like and what you have built. Webflow gives you advanced customization options that allow you to design exceptionally good layouts.
Content Management System (CMS)
One of the things Webflow stands out for is its built-in CMS, which allows you to create and manage content directly within the platform. You can structure your content using databases, which makes it great for blogs, portfolios, or e-commerce stores. Webflow also gives you design control without relying on external plugins, streamlining your workflow.
Hosting
Hosting on Webflow is fast, reliable, and secure. This built-in hosting option removes the hassle of configuring third-party providers and keeps everything centralized.
Responsive Design
Webflow also makes the responsive design more straightforward. This platform automatically adjusts your website for optimal display across desktops, tablets, and mobile devices. If you need precise control, Webflow lets you tweak your design for specific screen sizes, ensuring a polished look no matter where your site is viewed.
Comparison with Other Web Design CMS
WordPress
WordPress is one of the most popular CMS platforms for its flexibility and extensive plugins. It's an open-source tool that requires separate hosting, theme installation, and plugin management. While WordPress offers many customization options, it can be sometimes difficult to navigate for beginners who are not used to coding or managing technical setups.
Webflow, on the other hand, has an all-in-one solution, while WordPress relies on third-party tools for advanced design and functionality, potentially leading to compatibility issues.
Wix
WIX is an option if you are looking for a beginner-friendly website builder with a simple drag-and-drop interface. It's suitable for users looking for quick and straightforward website creation but needs to have the advanced design capabilities and customization that Webflow offers.
Wix has a couple of limitations, including site scaling of complex projects, and we can say that Webflow gives a better choice for designers and developers who want to get fine-tuned control over their designs.
Advantages of Using Webflow
When talking about the ability to create a new website without having to code, Webflow stands out; it offers creative freedom from the old ways of coding without requiring you to write code.
It's a combination of platforms that helps you handle design, hosting, and content management seamlessly. Webflow's responsive design tools ensure your site looks great on all devices, while its hosting eliminates the need for third-party services.
Overall, Webflow is available for designers who want advanced control over their work without the technical overhead, which makes it an ideal choice for professionals and businesses aiming for a polished, scalable web presence.
Setting up your Weflow account
Steps to Sign Up for Webflow
- Visit Webflow's Website: Go to Webflow official website. Click on the Sign Up button at the top-right corner of the homepage.
- Provide Your Details: Enter your email address, create a password, and fill out other required information. Webflow may ask for your experience level in web design, which helps them customize your onboarding experience.
- Choose a Plan: Webflow offers free and paid plans. If you’re just exploring, start with the free plan, which provides access to core design features and basic hosting.
- Set Up Your Workspace: Once registered, Webflow will guide you through setting up your workspace. This is where all your projects will be managed.
- Start Your First Project: Click the Create a New Project button to start designing your first website. Webflow offers templates to help you get started or lets you start from scratch.
Overview of the Webflow Dashboard
The Webflow dashboard is the control center for managing your projects, account settings, and collaboration tools. It provides an intuitive layout designed to help you navigate effortlessly, whether you’re new to Webflow or experienced in web design.
Here’s a breakdown of its main components:
Projects Tab
This is where all your active and archived projects are listed. Each project appears as a tile, displaying the website’s name and a preview of its design. You can create a new project, duplicate an existing one, or archive completed work. This section keeps all your websites organized and easily accessible.
Templates Library
If you’re looking for inspiration or want to save time, the template library is a valuable resource. It includes a wide range of professionally designed website templates tailored to various industries and purposes. You can start a new project with a template or modify one to suit your needs.
Account Settings
This section lets you manage your subscription, update your payment information, and edit your profile details. You can also change your password and configure your notification preferences to stay informed about updates and changes.
Team Settings
If you’re working with a team, the team settings feature helps you manage users and permissions. You can invite collaborators, assign roles, and set access levels to ensure your projects run smoothly.
Help and Support
The dashboard includes quick links to Webflow’s help center, community forums, and video tutorials. These resources are invaluable if you run into issues or need to learn how to use a specific feature.
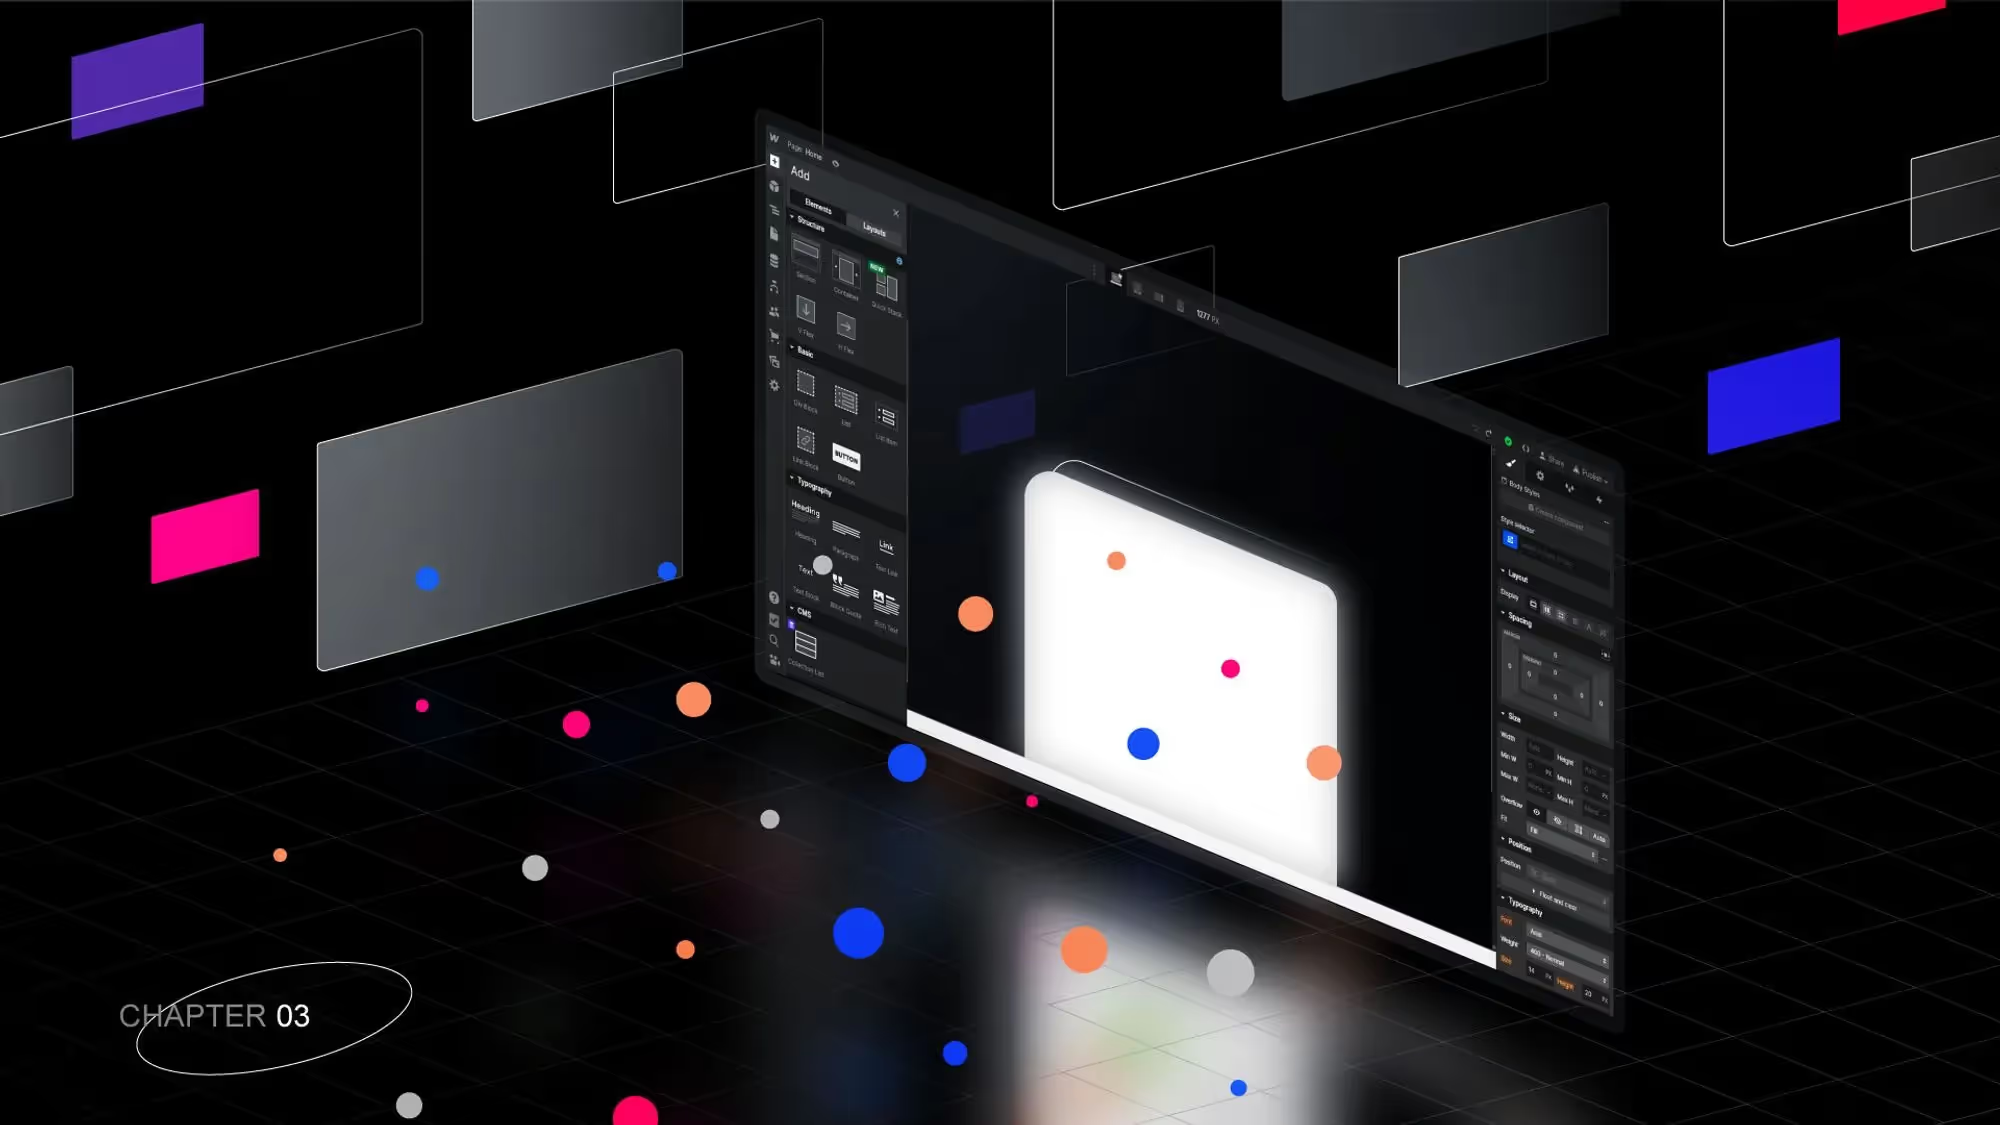
Designing websites with Webflow - an overview of the interface and tools
With Webflow’s intuitive drag-and-drop interface, building websites has never been easier. The platform offers a wide range of tools that allow you to customize your site's design to your exact specifications.
Here’s a straightforward guide to understanding its interface and the key tools you'll use:
Navigator:
- Location: On the left side of the screen.
- Purpose: Displays a tree view of your webpage structure, allowing you to select and manage sections, containers, and elements easily.
Toolbar:
- Location: At the top of the screen.
- Tools Included:
- Add Elements ("+") Button: Opens the Elements Panel to add new sections, containers, text, images, and more.
- Symbols: Creates reusable components to keep your site consistent.
- Interactions: Sets up animations and interactions to enhance user experience.
- Settings: Manages project settings and site-wide options.
- Publish: Previews and publishes your site when it's ready.
Canvas:
- Location: In the center of the screen.
- Purpose: The main workspace where you design your website. You can drag and drop elements and see real-time changes as you work.
Style Panel:
- Location: On the right side of the screen.
- Purpose: Allows you to adjust the look of your elements, including typography, color, spacing, and layout.
- Key Features:
- Typography: Customize fonts, sizes, colors, and line heights.
- Layout: Adjust margins, padding, display settings, and positioning.
- Backgrounds: Set background colors, gradients, or images.
- Borders and Shadows: Add borders, shadows, and other stylistic elements.
Elements Panel:
- Location: Accessed via the "+" button in the Toolbar.
- Purpose: Lets you add various elements to your site, such as text, images, forms, sliders, and tabs.
Assets Panel:
- Location: Accessed on the left bar of the screen.
- Purpose: Manages your media files, allowing you to upload and organize images, videos, and other assets.
Settings Panel:
- Location: On the right side, accessible from the Toolbar.
- Purpose: Configures settings for individual elements such as ID, custom attributes and CMS related settings.
Preview Mode:
- Location: Top-right corner.
- Purpose: Allows you to see how your site will look and function live, essential for testing responsiveness and interactions. Any code related structure or functionality would only be seen on the published URL so it’s necessary to test it on staging before it’s pushed live.
Responsive Design Tools:
- Location: At the top of the screen, next to the Preview button.
- Purpose: Designs and tests your website on different devices (desktop, tablet, mobile) to ensure it looks great everywhere.

Working with Custom Code in Webflow
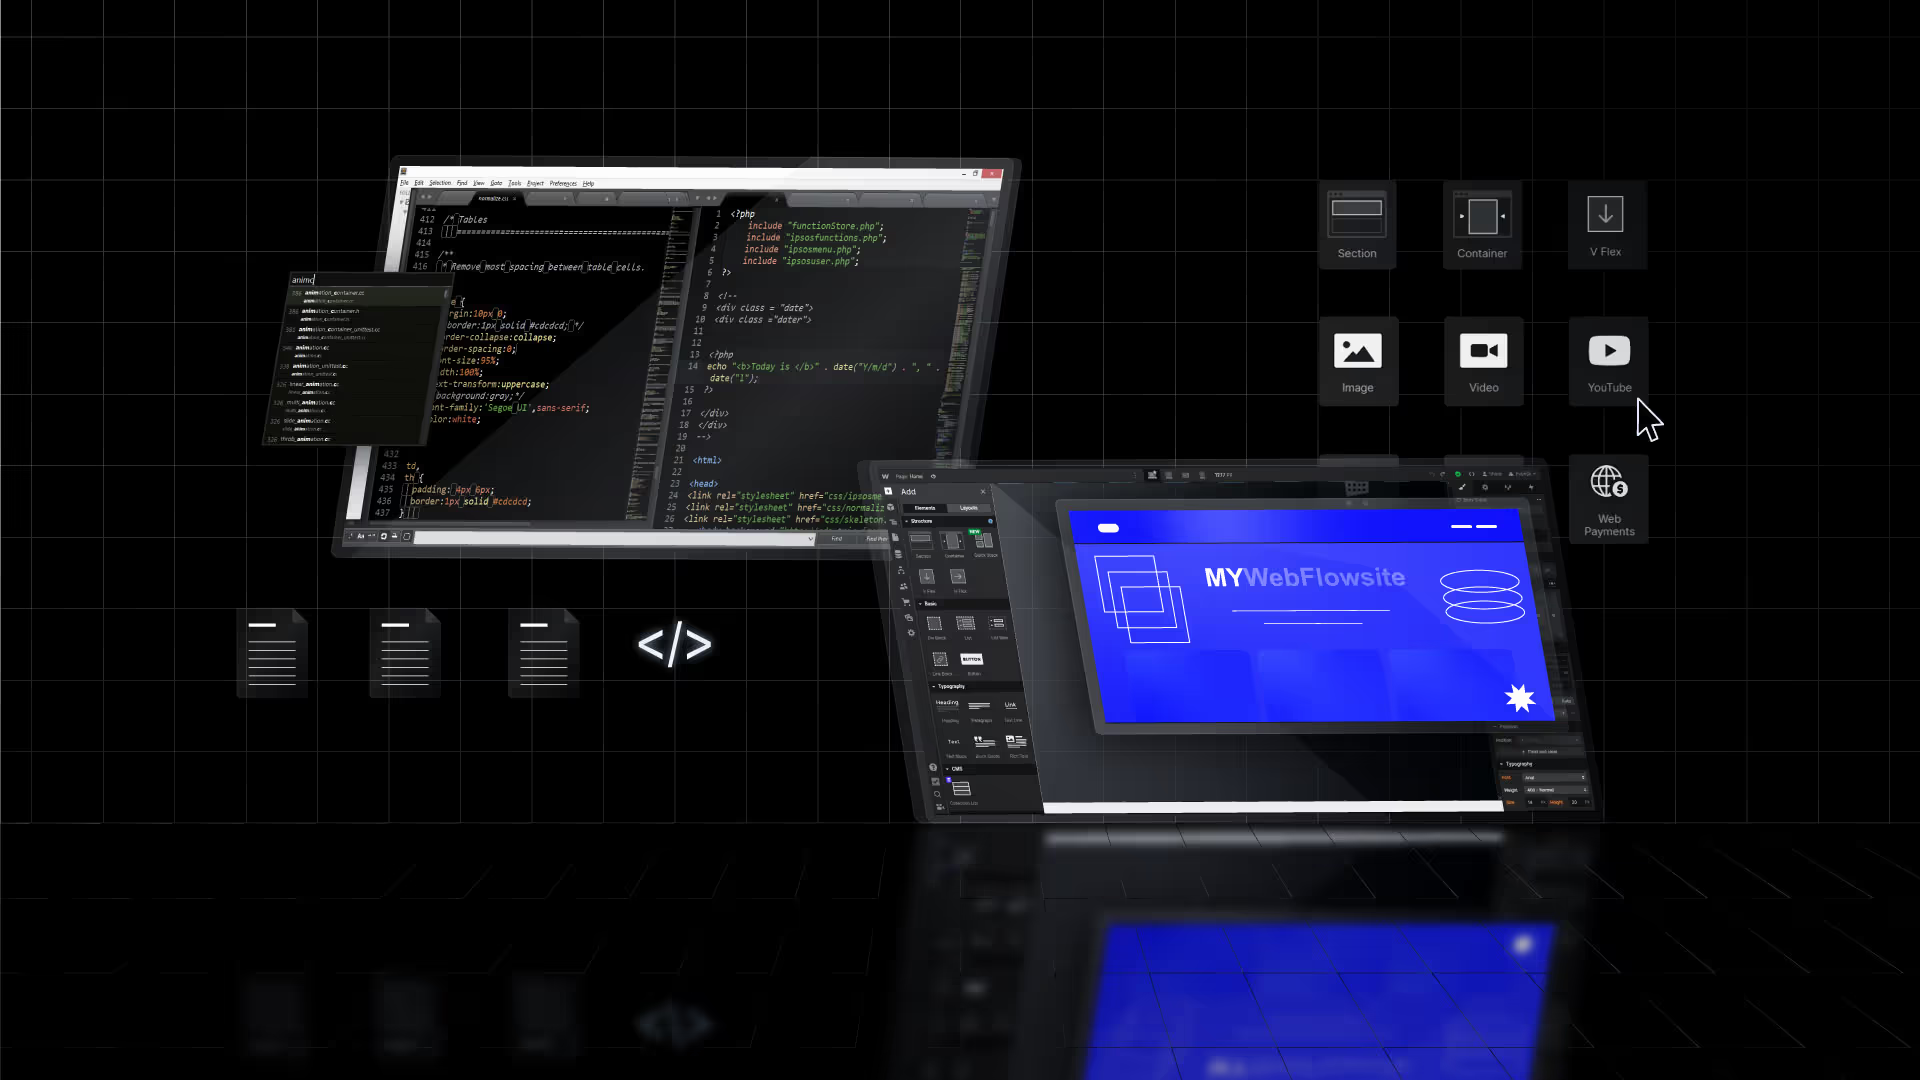
Webflow’s no-code tools allow you to design websites visually, but its ability to integrate custom code sets it apart. This feature gives you the flexibility to implement advanced functionalities or fine-tune your designs when needed.
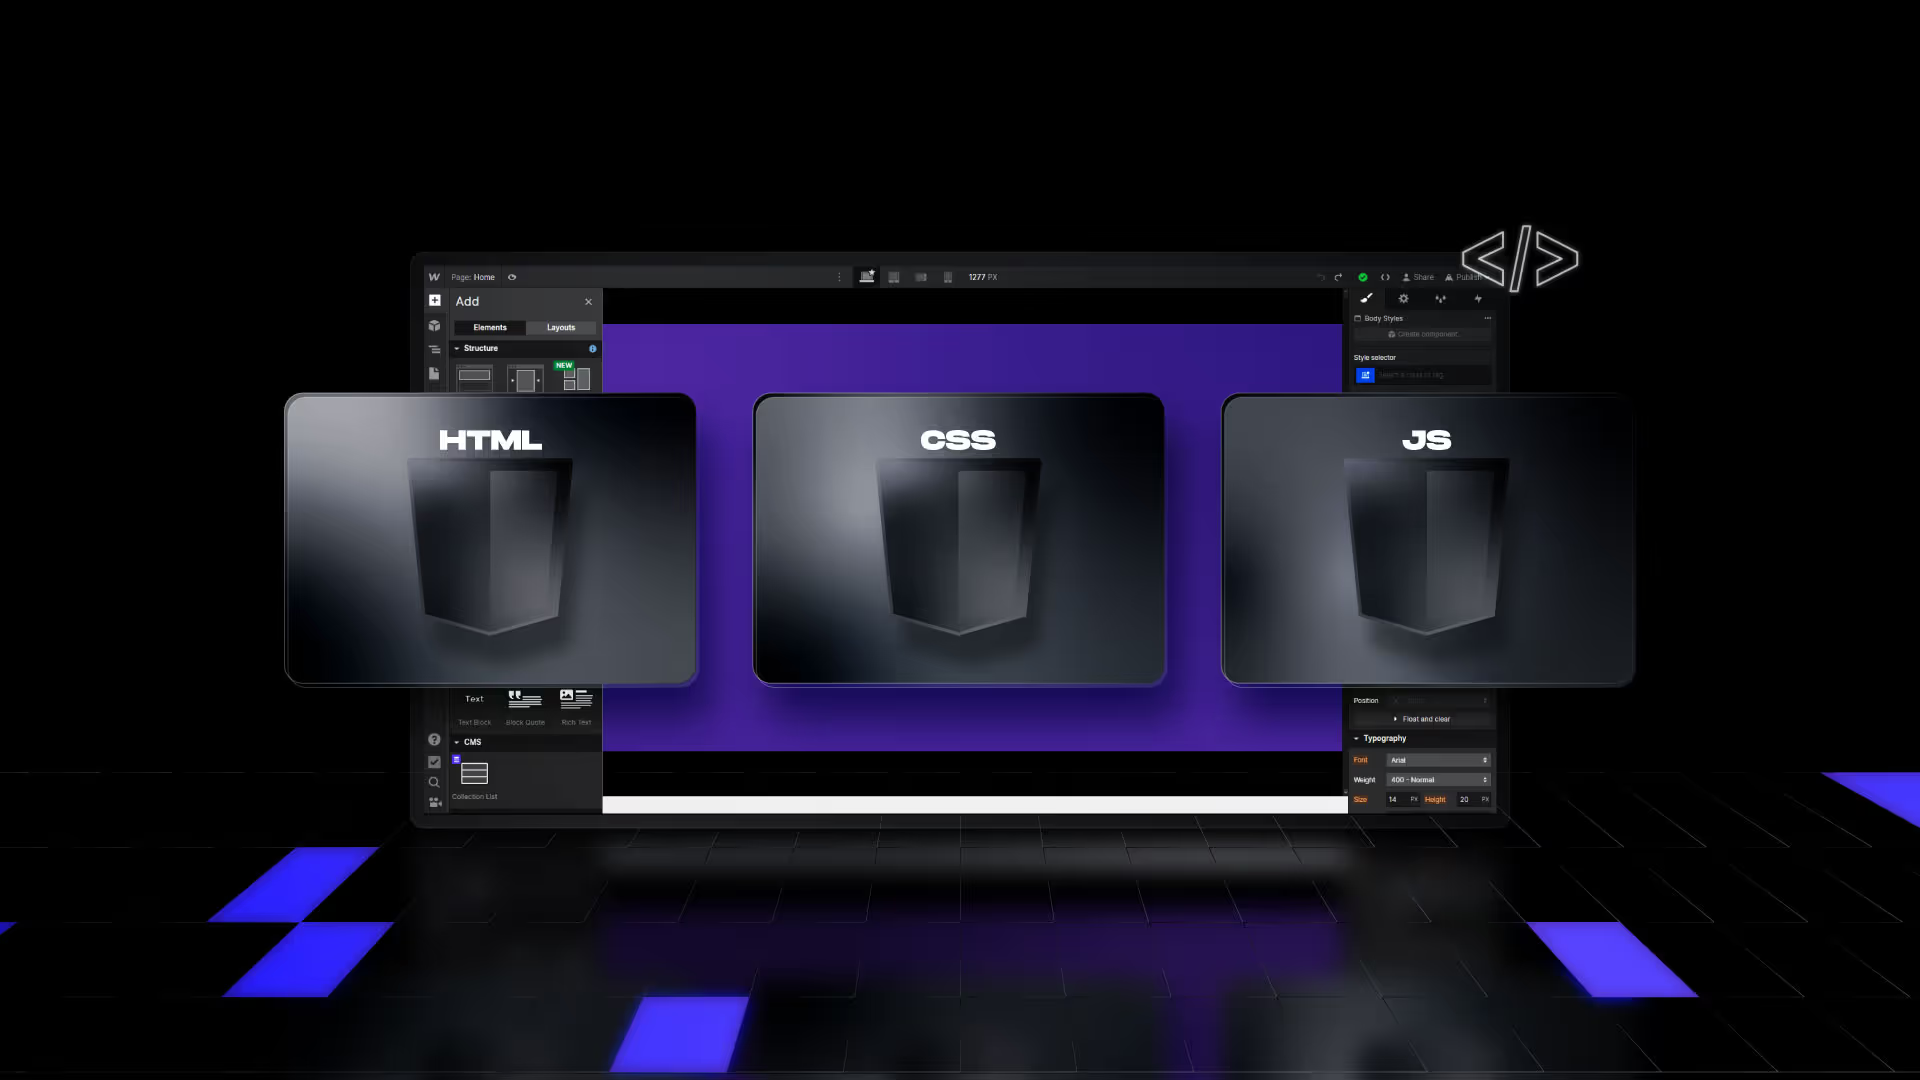
Here’s how Webflow incorporates custom code and how basic knowledge of HTML, CSS, and JavaScript can enhance your work:
Adding Custom Code in Webflow
Webflow provides multiple ways to add custom code:
- Page Settings: Insert code into the
<head>or<body>sections of specific pages. This is useful for analytics scripts or page-specific customizations. - Embed Blocks: Use Webflow’s Embed element to include custom HTML, CSS, or JavaScript directly within a page layout. This is ideal for adding widgets, forms, or third-party tools.
- Site Settings: Apply global code to all pages in a project through the Project Settings. This is commonly used for site-wide tracking scripts like Google Analytics.
Basics of HTML, CSS, and JavaScript
HTML (HyperText Markup Language)
HTML structures the content on your website. It uses tags like <div, <p>, and <img> to define elements such as sections, text, and images. In Webflow, while most of the structure is created visually, knowing HTML helps you understand how your site is organized behind the scenes.
CSS (Cascading Style Sheets)
CSS controls the visual appearance of your website, such as colors, fonts, margins, and responsiveness. Webflow’s Designer writes CSS for you as you style elements, but custom CSS allows you to implement styles not available through Webflow’s UI, like complex animations or media queries.
JavaScript
JavaScript adds interactivity and dynamic content to your website. It enables actions like dropdown menus, sliders, or data fetching. In Webflow, you can integrate custom JavaScript to enhance user experience, such as creating dynamic effects or connecting with APIs.
Practical Applications
- Embed a live chat widget from a third-party provider using a snippet of JavaScript.
- Customize forms with advanced validation rules through custom HTML and JavaScript.
- Apply unique styles to specific elements using custom CSS for finer control.
Why Learn the Basics?
Even though Webflow doesn’t require coding, understanding these basics helps you troubleshoot issues, customize features, and communicate effectively with developers. It empowers you to go beyond the platform’s built-in capabilities and deliver unique results for your projects.
Webflow’s custom code features bridge the gap between no-code and traditional development, making it an excellent tool for designers who want to explore advanced possibilities without fully committing to writing code from scratch.

Tips for Troubleshooting Common Webflow Issues
Using Webflow can streamline web design, but occasional challenges may arise. Here are practical tips to address some common issues:
1. Styling Issues
If elements don’t appear as expected, review your CSS styles in the Webflow Designer. Check for conflicting settings like overlapping margins, padding, or position values. Use the Navigator panel to inspect the structure and hierarchy of elements.
2. Broken Links
If a link leads to an error page, confirm the URL is correct in the link settings. For internal links, ensure the target page or section exists and is published. Use Webflow’s “Check Links” feature in the Editor to scan for broken links site-wide.
3. Issues with Responsiveness
When elements break or overlap on smaller screens, adjust the styles specifically for those breakpoints. Webflow allows you to create designs tailored to different device sizes. Use the preview tool to test how your site looks on various screens.
4. Custom Code Errors
If embedded code isn’t working, review it for syntax errors or missing elements. Use Webflow’s custom code editor to isolate potential problems. Test your code outside of Webflow (e.g., in a basic HTML environment) to ensure it functions as expected.
5. Publishing Problems
If changes aren’t visible after publishing, clear your browser cache or check in an incognito window. Ensure you’ve published the latest version of your site and confirm the domain settings are correctly configured.
6. Slow Page Loading
Large images or excessive animations can slow your site. Optimize images by compressing them before uploading and limit heavy scripts or animations. Use Webflow’s built-in performance tools to identify potential issues.
7. Form Submission Errors
If forms aren’t working, verify the email address in your form settings and ensure Webflow’s form submission features are enabled. If you’re using third-party integrations like Zapier, test the connection to confirm proper data flow.
Troubleshooting Webflow issues often requires a systematic approach. Start by identifying the specific problem, testing solutions incrementally, and referring to Webflow’s community forum or customer support when needed.
Webflow vs. WordPress vs. Wix: Which Is Right for You?
Webflow is great if you value creative control and professional-grade tools. It allows designers and developers to create highly customized websites without sacrificing flexibility. Webflow’s visual design interface is good for you if you want to perfect or learn how to control your site’s look and functionality. However, it may not be easy to navigate compared to other platforms, which might feel challenging if you’re just starting.
WordPress, on the other hand, is also excellent in terms of flexibility and scalability. You choose from thousands of plugins and themes to create an experience that works for you. If you are comfortable with technical configurations, WordPress provides almost limitless possibilities.
But it comes with added responsibility; you’ll need to manage security updates, plugin compatibility, and hosting on your own. WordPress offers the tools to handle it effectively if you’re building a large, content-heavy website.
Wix combines simplicity and ease of use. This interface allows a complete beginner to create a functional website quickly. Wix is an excellent choice if you want to use it for small businesses or personal projects that don’t require advanced features or scalability.
However, it also has limitations regarding customization and control, which could become restrictive as your needs grow. When deciding which of these platforms you are going for, think about your goals, technical skills, and project scale to find the best fit.
Conclusion
From what we have discussed, it is clear that Webflow offers several advantages for creating unique website designs with ease. It is an excellent choice for both experienced and beginner coders, as there are plenty of tools available to help create complex websites quickly.
Learning the basics of using Webflow is a fantastic way to start into web design without needing to know how to code. With its intuitive interface and powerful tools, you can create professional, responsive websites that stand out. The webflown university is at your easy reach to learn more.
FAQs
Is Webflow easy to use for beginners?
Yes, Webflow is beginner-friendly. It has an intuitive visual interface and plenty of resources to help you get started. While it may take a bit to master, it’s easier than WordPress and provides more design freedom than Wix.
How to start learning Webflow?
Sign up for a free account and explore the platform. Webflow University offers tutorials for beginners, so start there and practice by building small projects to learn as you go.
Should I learn Figma before Webflow?
It’s not necessary, but learning Figma can help if you plan on designing detailed wireframes or working closely with designers. You can learn both simultaneously.
Is Webflow better than Elementor?
It depends. Elementor is great for WordPress users, but Webflow is a complete platform for design, hosting, and management. If you need more design flexibility and want everything in one place, Webflow is the better choice.
