Recently, Webflow has become a top choice for designers and developers when creating a website. But is it a Content Management System (CMS) or a web development tool? The answer is: it's both.
Webflow bridges the gap between design, content management, and web development, offering a unique platform for creating websites without coding expertise.
So, if you're looking to build a personal portfolio, manage blog posts, or create a complex business site, Webflow has you covered.
What is Webflow?
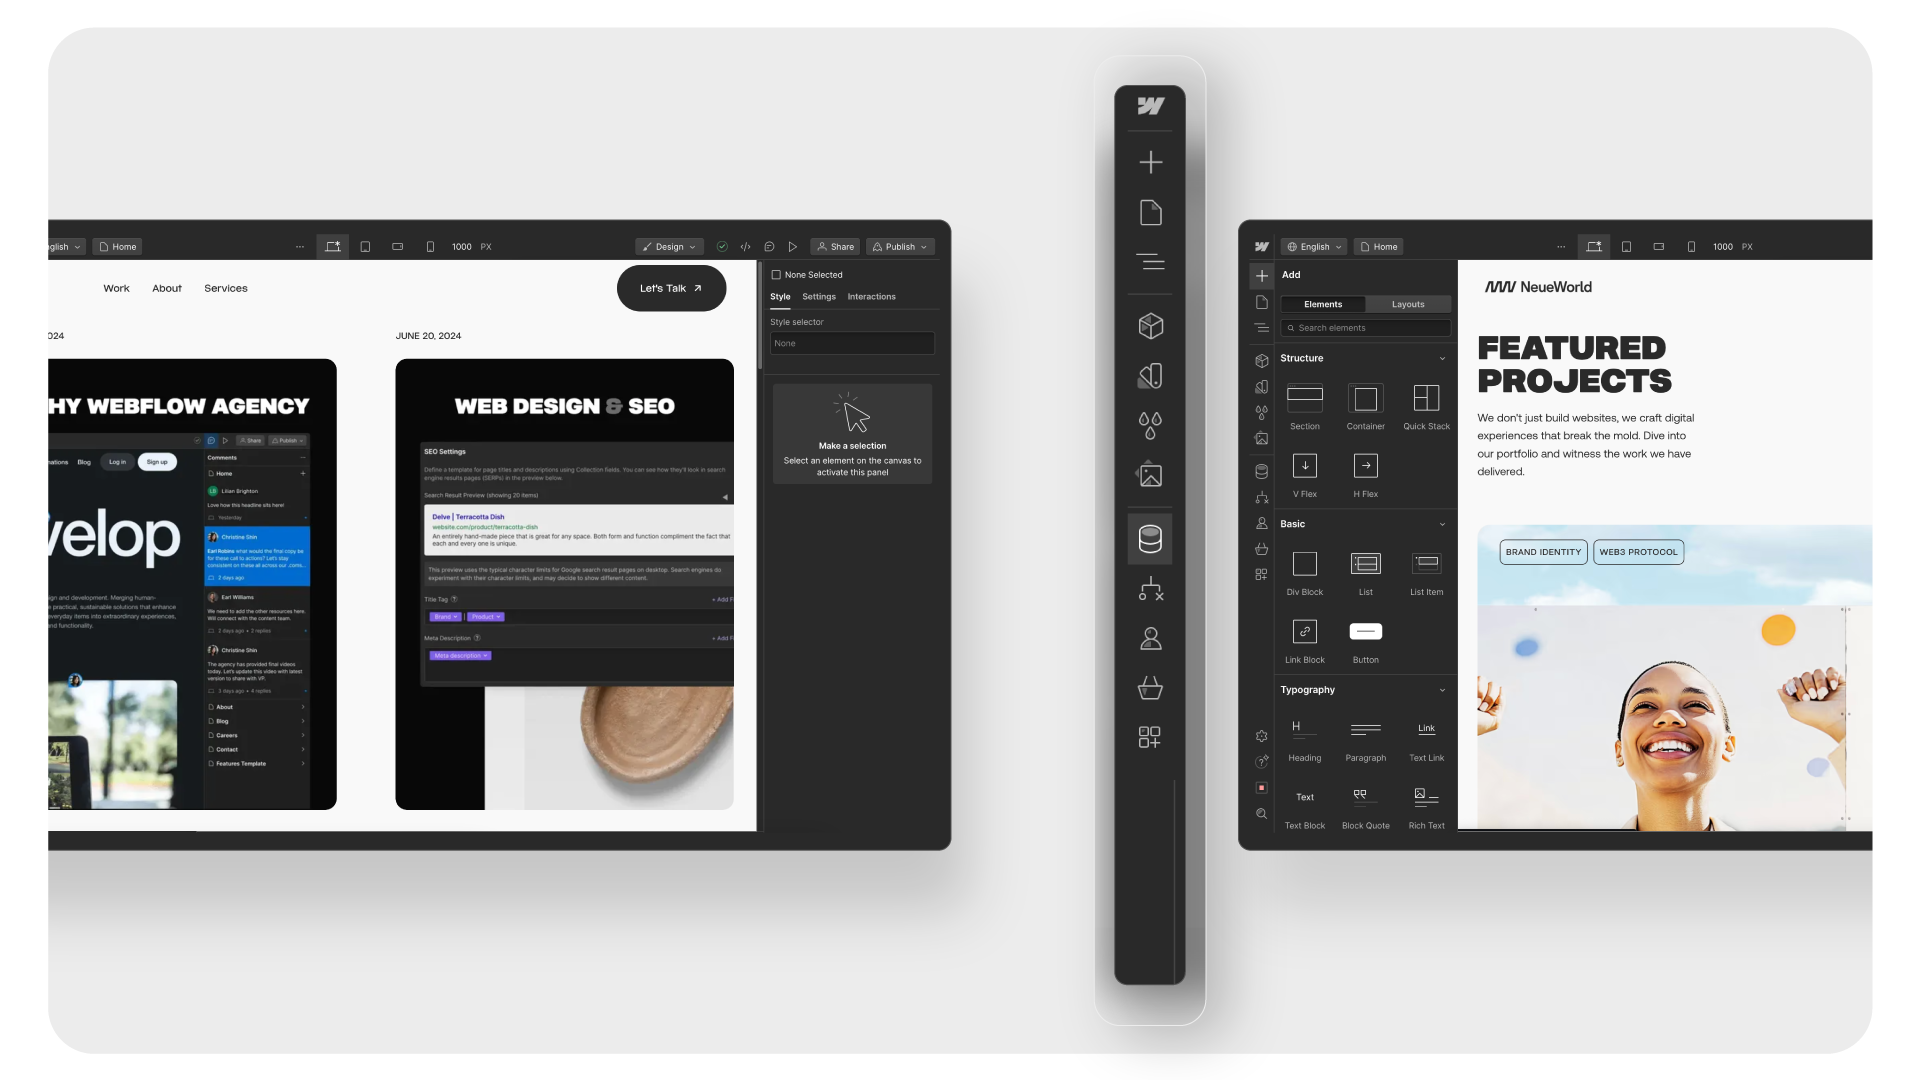
Webflow is a website-building platform that combines design, development, and content management into one tool. It offers a user-friendly visual interface that allows users to design websites in real-time.
You can drag-and-drop elements, customize styles, and see your changes instantly. But it's not just about design; it also generates clean, semantic HTML, CSS, and JavaScript behind the scenes, making it as much of a development tool as it is a design platform.
Primary Functions of Webflow
Design
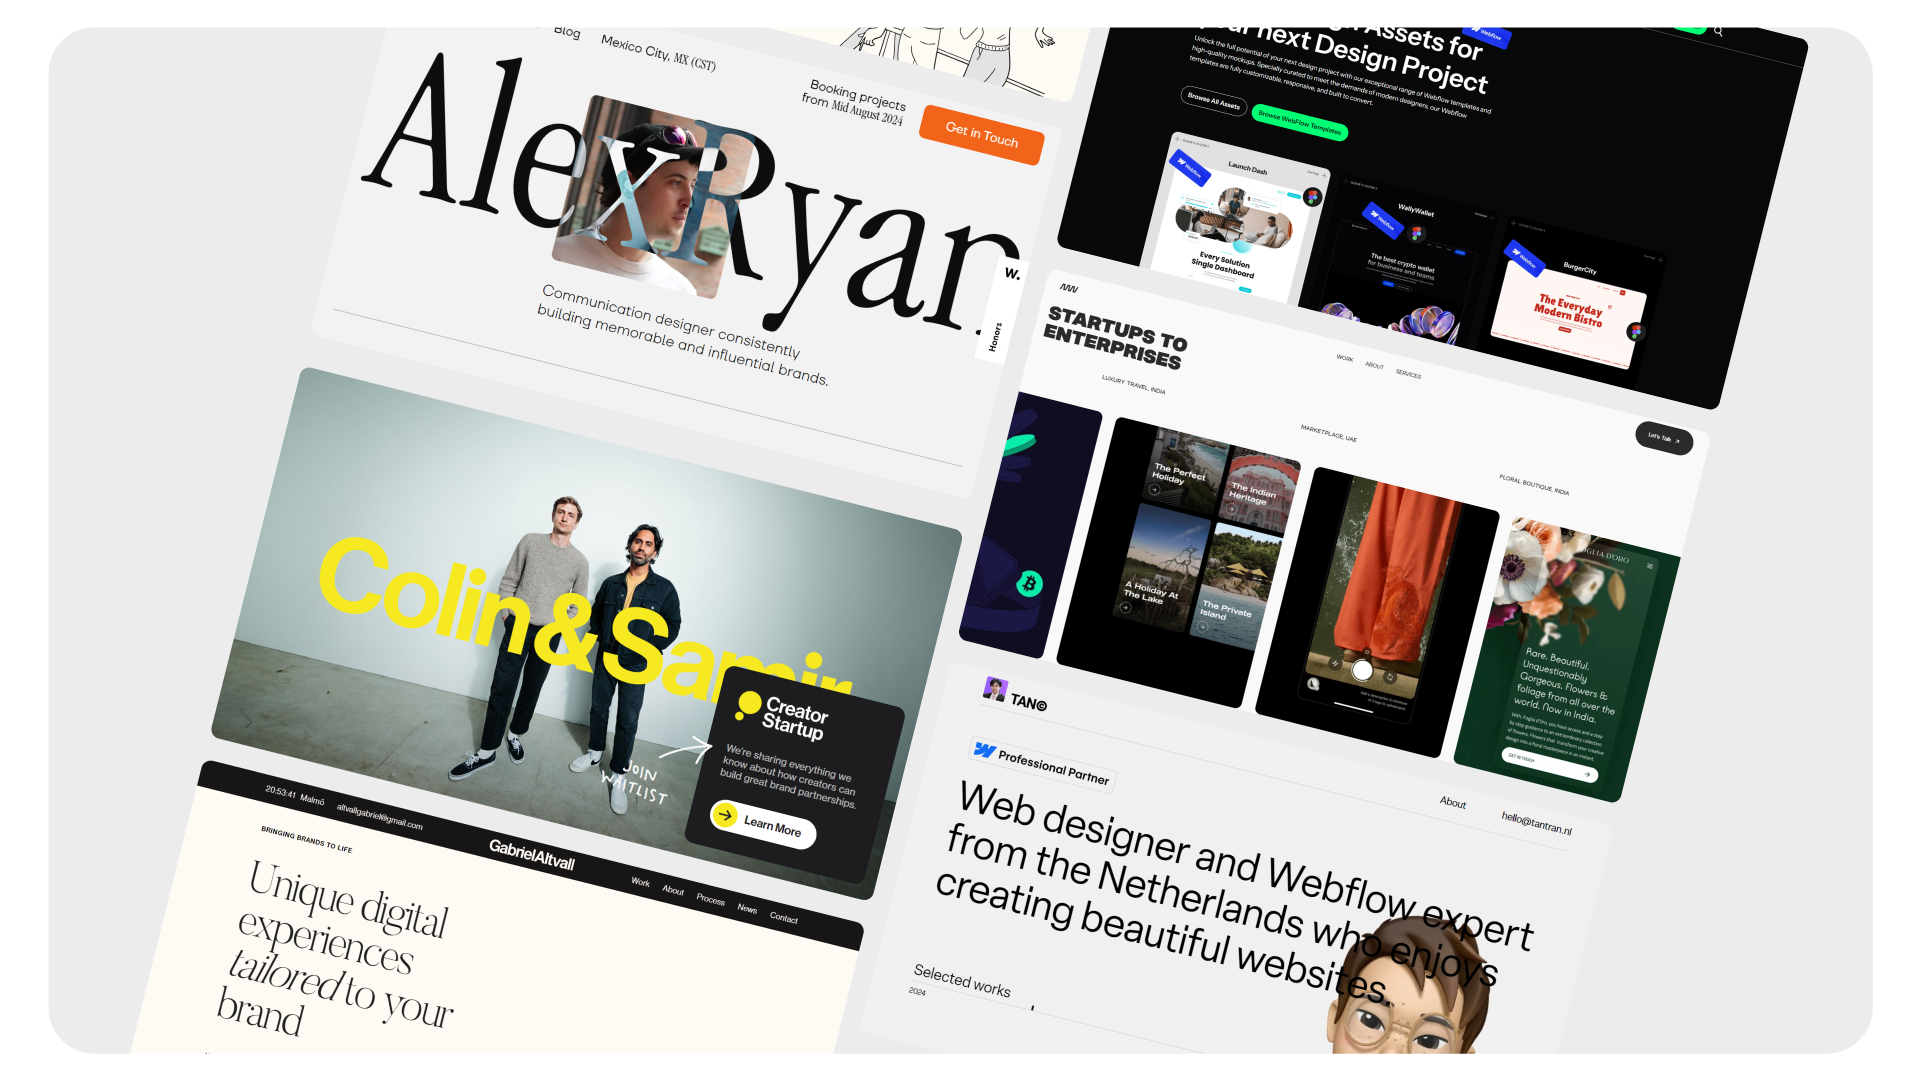
Webflow's visual designer is a top feature. Users can build websites from scratch or use pre-designed templates. It offers complete design freedom, enabling you to create complex layouts, animations, and interactions directly within your browser.
Think of it as Adobe Photoshop or Figma but for live websites.
Learn More About How to Use Webflow Templates.
Development
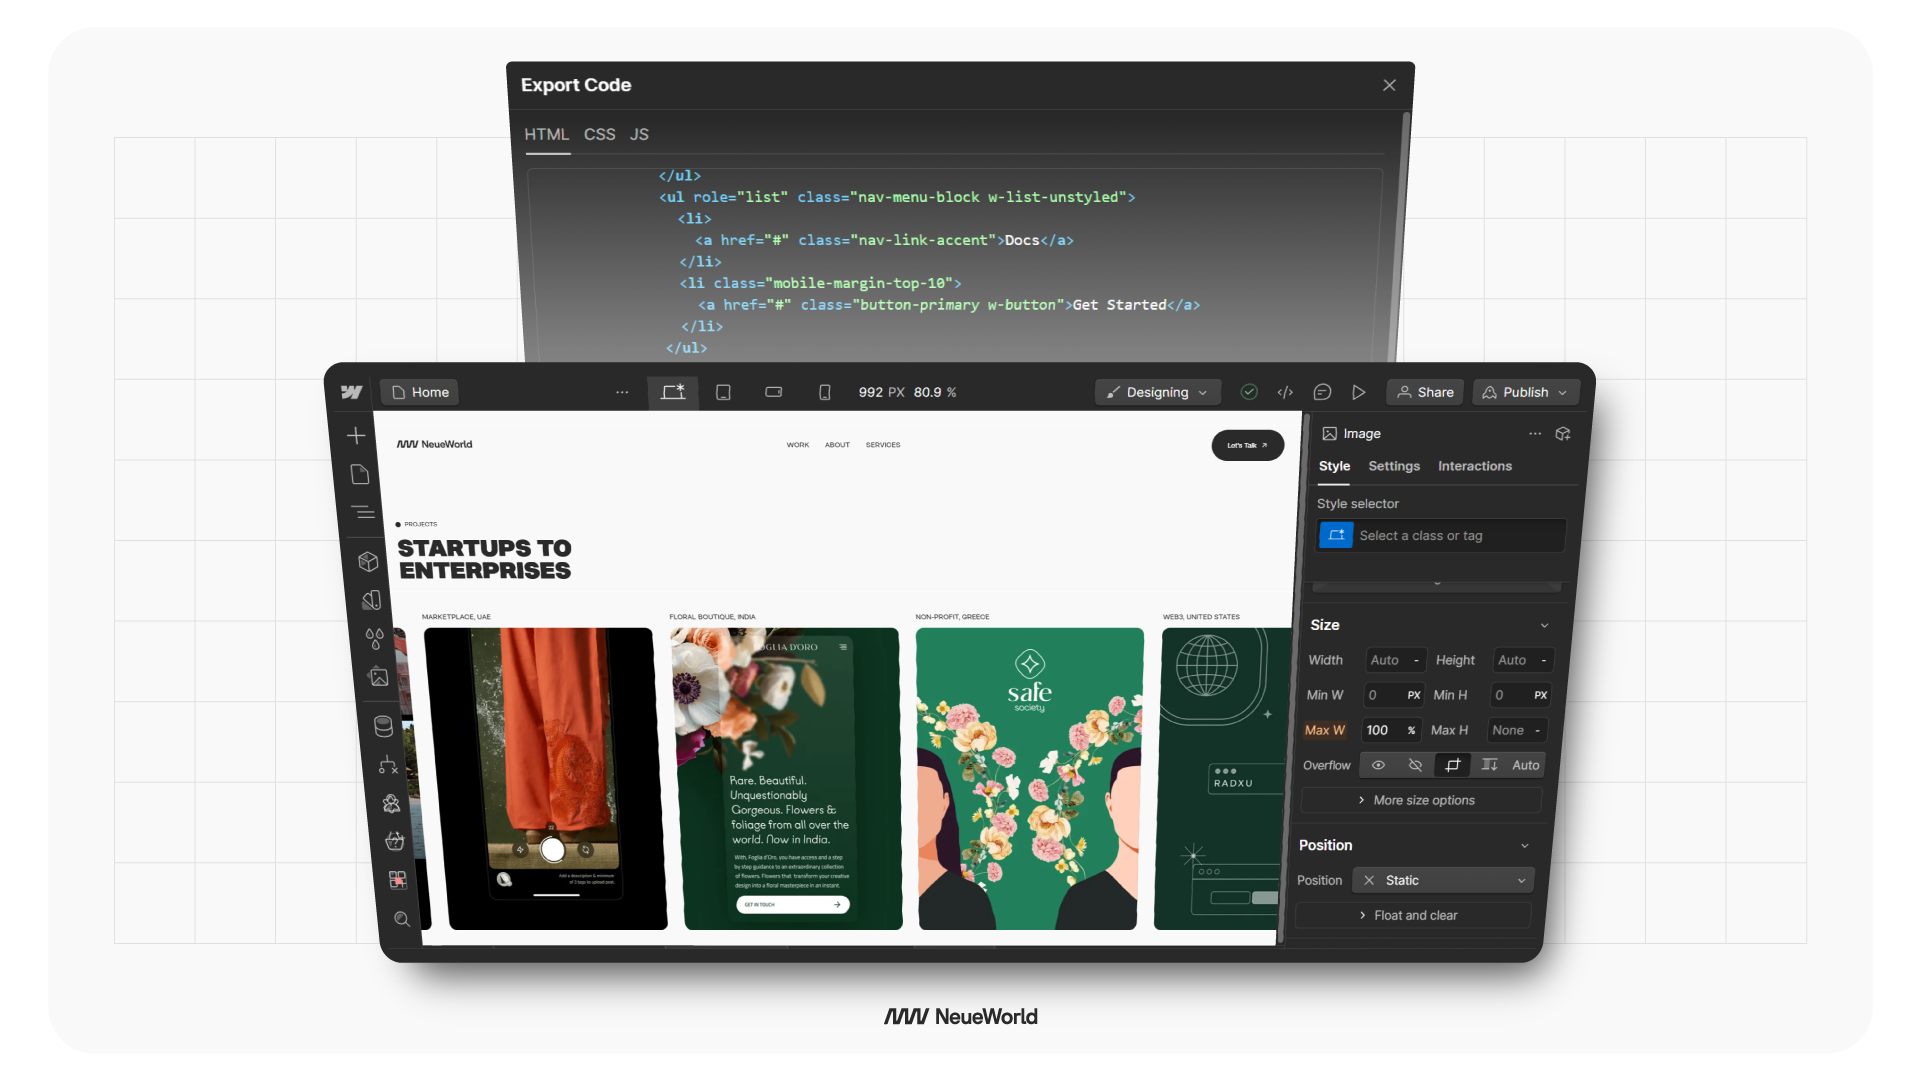
Webflow doesn't require coding knowledge, but it still caters to developers by offering the ability to customize websites entirely using its design interface. It generates production-ready code, and you can even export it outside the platform.
Webflow also allows custom code injection for more hands-on users, so you can integrate third-party tools, APIs, or scripts if needed.
Content Management
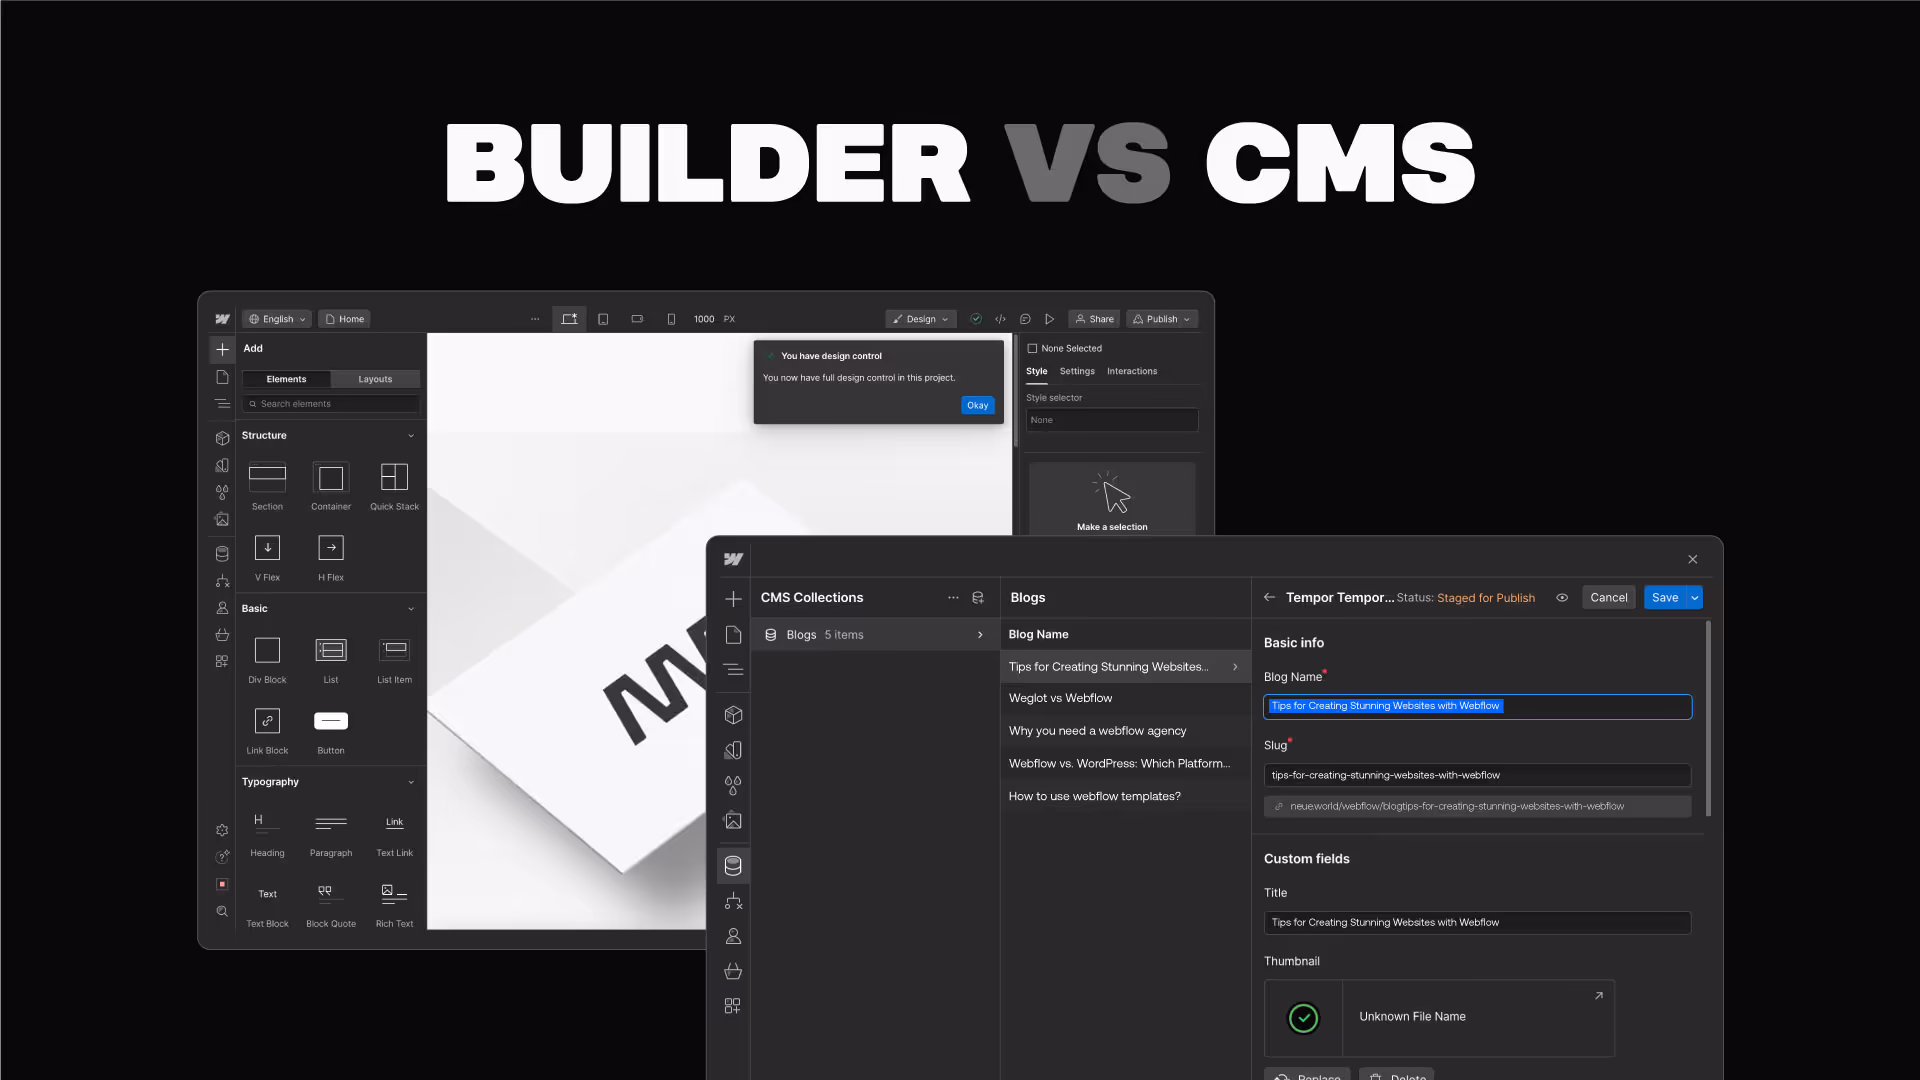
As a CMS, Webflow allows users to create and manage dynamic content. Users can set up collections (similar to databases) that store content like blog posts, product listings, or portfolios.
This makes it easy for clients or non-technical team members to update content without affecting the website's structure.
The Editor mode allows seamless content updates without diving into design or development elements.
Webflow as a CMS
Webflow isn't just a web design tool; it's also a Content Management System (CMS) that allows users to create, organize, and manage content efficiently. If you want to start a blog or manage an e-commerce site, Webflow's CMS provides the flexibility and control needed to maintain dynamic, up-to-date content.
Content Management Features:
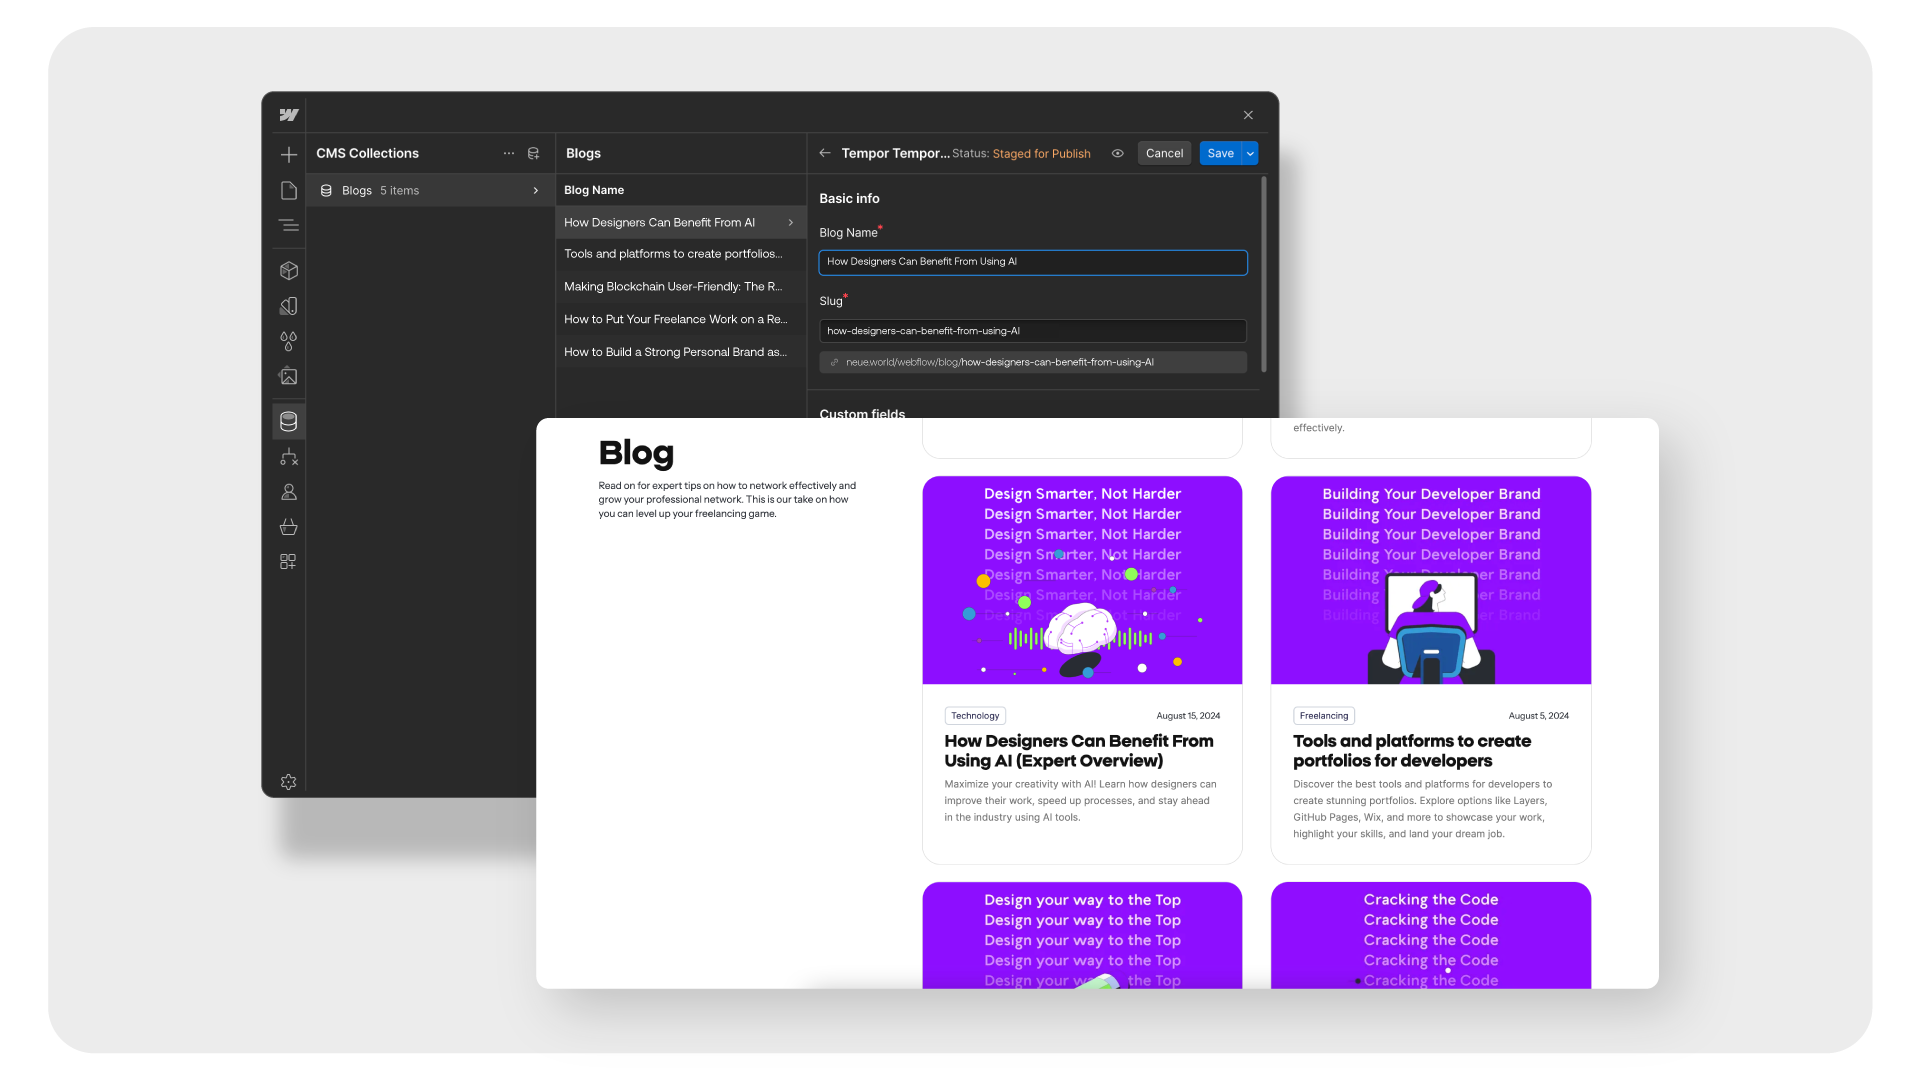
- Collections:
Webflow's CMS revolves around Collections, essentially databases for your content. You can create custom collections for different types of content, such as blog posts, projects, testimonials, products, etc.
Each collection comes with customizable fields, allowing you to tailor your content precisely as needed.
For example, a blog collection could include fields for titles, summaries, content, author names, and publish dates.
- Dynamic Content:
The real power of Webflow's CMS lies in its ability to handle dynamic content. Instead of manually updating every page, you can create dynamic templates that pull content directly from your collections.
This means that once your design is in place, you only need to update your collection items, and Webflow will automatically reflect those updates across your site.
For example, when you publish a new blog post, it will instantly appear on your blog page and any other section you've designated without requiring repetitive manual updates.
- Editor Mode:
Webflow's Editor mode is designed for ease of use. It allows non-technical users to update content directly on the live website without touching the design.
Clients or team members can easily add or edit content in real-time by clicking on the sections they need to update. This content could be text, images, or other media while keeping the site's structure intact and flexible.
Automating Your webflow CMS:
Webflow's CMS doesn't have to be updated by hand. Its integrations and API let you automate content workflows instead of editing every item manually.
Zapier Integrations:
- Automate Content Updates: Use Zapier to connect Webflow with other apps and automate tasks such as publishing new blog posts from Google Sheets or sending new post notifications to social media platforms.
- Content Importing: Automate the importing of content from external sources like RSS feeds, WordPress, or other CMS platforms directly into your Webflow CMS.
Webflow API:
- Custom Automation Scripts: Use the Webflow API to create custom automation scripts. For example, you can automate the process of updating content, managing collections, or syncing data between Webflow and other applications
- Third-Party Services: Integrate with services like Airtable for advanced data management, Mailchimp for email marketing, or Shopify for e-commerce functionalities. This expands the capabilities of your Webflow site and streamlines workflows.
Webflow as a Web Development Tool
While Webflow is often praised for its no-code design approach, it's also a powerful web development tool.
The platform goes beyond static website creation, offering extensive customization, interaction capabilities, and even the ability to export clean code.
It's a solution that caters to designers and developers, allowing them to work together seamlessly.
Design Capabilities
One of Webflow's biggest strengths is its design flexibility. The platform offers a wide range of design options that enable users to build visually complex, interactive websites without writing a single line of code.
Here's how:
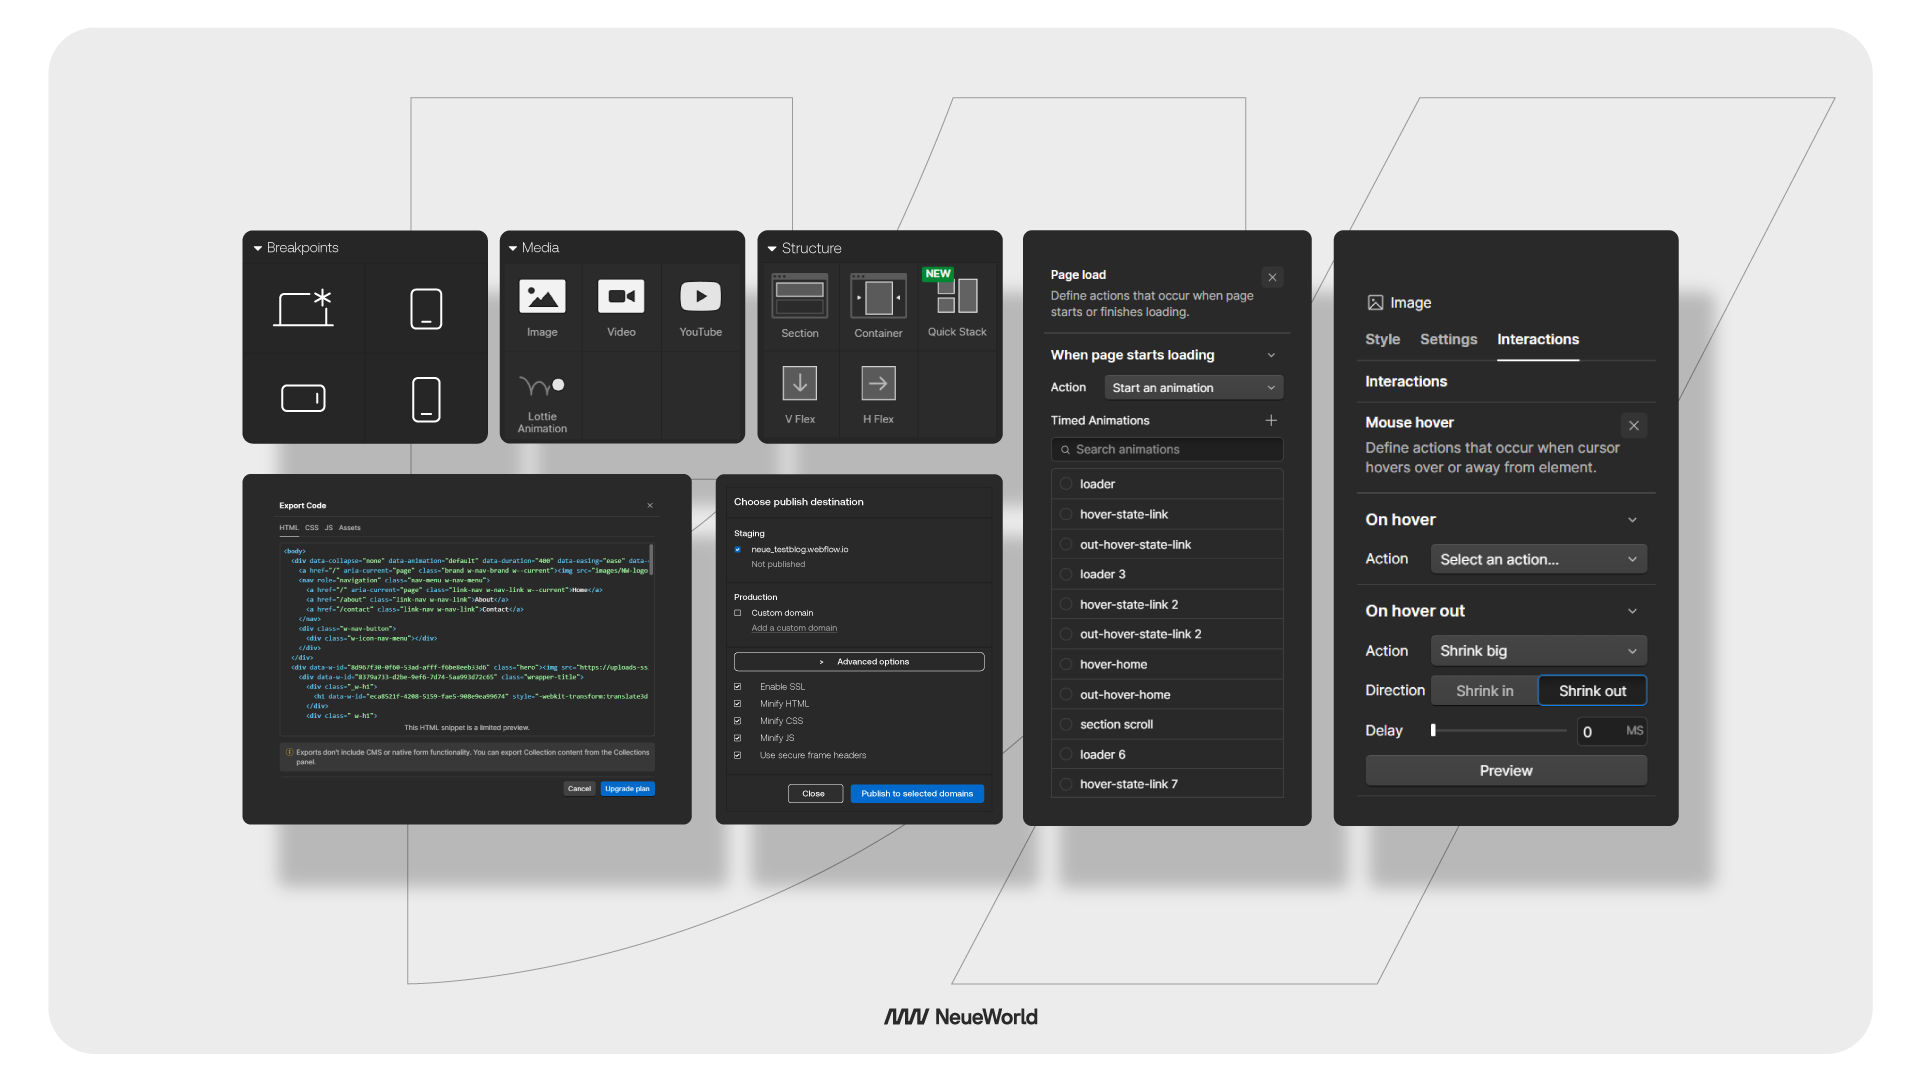
Custom Animations
Webflow allows you to create intricate animations and interactions, all within its visual editor. From hover effects to scroll-triggered animations, the interactions panel offers endless possibilities for adding life and movement to your designs.
With subtle transitions between sections or eye-catching interactive elements, you can fine-tune animations for each component to create a unique user experience.
Responsive Design
Webflow is built with responsive design in mind. As you design, you can easily switch between breakpoints (desktop, tablet, mobile landscape, mobile portrait) to adjust how your website looks and functions on different devices.
It gives you total control over how your site will respond across various screen sizes, ensuring a seamless experience for all users.
Unlike many web design tools that force you to use rigid templates, Webflow lets you design custom layouts for every screen size.
Interaction Capabilities
Beyond basic animations, Webflow shines in its interaction capabilities. You can create interactive elements triggered by user actions, such as clicks, hovers, or scrolling.
This makes building engaging, dynamic websites that respond to the user's behavior possible.
These interactions can range from simple hover effects to more complex, multi-step animations triggered by scrolling or clicking, adding depth and immersion to your design.
Code Export
While Webflow is primarily a no-code platform, it also serves developers by offering clean, exportable code. Once you've finished designing a website, you can export the HTML, CSS, and JavaScript for use outside the platform.
This is particularly useful for developers who want to use Webflow for prototyping or design but need the flexibility to work with the code elsewhere.
Webflow's exported code is clean and semantic, making it easy for developers to work with. You can integrate it into other platforms or CMSs or hand it to a development team for further customization.
This feature bridges the gap between design and development, allowing teams to collaborate more effectively without compromising design integrity or code quality.
Example: Loom, a video messaging tool, showcases how Webflow's development tools can be used for e-commerce sites. With Webflow's built-in e-commerce functionality, the Loom team could design and customize their site without sacrificing performance or aesthetics.
Comparison: Webflow as a CMS vs. Web Development Tool
Webflow's dual nature as both a content management system (CMS) and a web development tool makes it a versatile platform, but the role it plays for you depends on your needs.
Let's dive into the pros and cons of using Webflow in each capacity and discuss how its usability, scalability, and learning curve differ for each purpose.
Webflow as a CMS: Pros and Cons
Learn More About Webflow vs. Traditional Coding: Pros and Cons.
Webflow as a Web Development Tool: Pros and Cons
Usability, Scalability, and Learning Curve
Usability
Webflow's visual interface is user-friendly for designers and content managers. However, for developers, the visual editor may feel limiting compared to traditional coding environments.
Designers can easily create pixel-perfect designs, but backend developers might need to look elsewhere for complex web applications.
Scalability
Webflow scales well for small to medium-sized businesses, especially for portfolios, blogs, and marketing websites. However, large-scale projects or businesses requiring extensive backend functionalities may not be as scalable as traditional CMSs with more robust backend support.
Learning Curve
Webflow's intuitive interface has a relatively low learning curve for designers. However, developers might need a steeper learning curve to use the platform's no-code development tools effectively.
On the CMS side, those new to dynamic content may take time to understand how to structure and organize data using Collections.
Ideal Use Cases: Who Should Use Webflow?
Webflow's versatility suits various users, from designers and developers to small business owners and content creators. Whether you're looking to build a beautifully designed site, manage dynamic content, or develop a fully responsive website, Webflow has features tailored to each group's unique needs.
Designers
Best Use Case: Design Flexibility Without Code
For designers, Webflow offers the freedom to create pixel-perfect websites without writing any code. The platform's visual editor enables designers to craft custom layouts, animations, and interactions, bringing complex design ideas to life without relying on developers.
Why Designers Love Webflow Best Use Case
- Complete Control Over Design: Webflow lets you design custom websites from scratch, down to every pixel, without being constrained by templates.
- Responsive Design: With Webflow, designers can easily create responsive websites that look great across devices. The platform offers real-time previews for desktop, tablet, and mobile views.
- Interactions and Animations: Webflow's interactions panel allows designers to add advanced animations and transitions without coding them.
Developers
Best Use Case: Frontend Development with Code Export
For developers, Webflow is a great tool for rapid frontend development. Developers can use Webflow's design capabilities to prototype or build the front end of websites, then export the clean HTML, CSS, and JavaScript code to integrate into larger projects or custom backend systems.
Why Developers Use Webflow
- Code Export: Webflow automatically generates clean, semantic code that developers can export and use in other environments.
- Speed Up Prototyping: Developers can build out frontend designs quickly using Webflow's visual editor, then fine-tune the code in their preferred development environment.
- Perfect for Static Sites: For simple websites or landing pages, Webflow's ease of use makes it a great tool for quickly launching projects.
Small Business Owners
Best Use Case: All-in-One Website Solution
Small business owners looking for an all-in-one solution for website design, development, and content management will find Webflow an excellent choice. Its ease of use means business owners can build their websites without hiring a team of designers or developers.
With built-in hosting, SEO tools, and e-commerce capabilities, Webflow can handle all the essentials for running a business online.
Why It Works for Small Businesses
- No Need for Technical Knowledge: Business owners don't need to worry about learning to code; Webflow's drag-and-drop editor allows them to independently build and manage their websites.
- E-Commerce: Webflow has integrated e-commerce features that make it easy to sell products online, complete with shopping carts, payment gateways, and order management.
- SEO-Friendly: Webflow offers built-in SEO tools, such as adding meta tags, alt texts, and custom URLs, helping small businesses get discovered on search engines.
Content Creators
Best Use Case: Dynamic Content Management
Webflow's CMS offers a dynamic way to manage content for content creators—whether bloggers, YouTubers, or podcasters. The platform's Collections feature allows users to set up structured content, like blog posts, portfolios, or even video libraries, which can then be easily updated and displayed in custom layouts.
Why Content Creators Benefit from Webflow
- Easy Content Updates: The Editor mode lets content creators quickly update their site's content without messing with the design or layout.
- Dynamic Pages: Content creators can use Webflow's CMS to create dynamic pages for blogs, podcasts, or portfolios that automatically update based on the content they input.
- Custom Layouts: Unlike traditional CMS platforms, Webflow gives creators complete control over how their content is displayed, from blog post templates to video gallery layouts.
Best Use Cases for Webflow
As a CMS:
Blogs and Portfolios
Webflow's CMS is ideal for anyone managing a blog, portfolio, or media-rich content. Its visual editor and Collections feature allows easy content creation and management while giving full design control.
Small E-Commerce Sites
Webflow's CMS and e-commerce features make it a good fit for small online stores that need a custom look and dynamic content but don't require a large-scale infrastructure.
As a Web Development Tool
Interactive and Responsive Marketing Sites
Webflow shines when building responsive, visually rich marketing websites that need custom animations, transitions, and layouts. It's a great tool for designers and developers on marketing campaigns or landing pages.
Frontend Prototyping
Developers can use Webflow to prototype designs quickly, export the code, and move to a more complex backend environment if needed. It's a timesaver for rapid frontend development.
FAQs
Is Webflow Suitable for E-Commerce?
Yes! Webflow offers built-in e-commerce features, allowing users to create customized product pages, manage orders, and set up payment gateways. It's perfect for businesses that want a visually compelling and highly customizable online store without dealing with external plugins.
How Does Webflow's CMS Work?
Webflow's CMS is built around Collections, which are structured content types (like blog posts, portfolios, or team bios). You can design how each piece of content is displayed and update it without altering the website design.
Can I Integrate Custom Code in Webflow?
Absolutely. You can add custom HTML, CSS, and JavaScript to your Webflow site, allowing for deeper customization and third-party integrations.
Conclusion
Webflow strikes a balance between being a Content Management System (CMS) and a web development tool, which has made it suitable for designers, developers, and content managers. If you're choosing it for a business site, working with a Webflow agency gets you both sides at once. Its intuitive interface, dynamic content management, and design flexibility make it a remarkable platform for creating high-quality websites that look great and perform well.
So, is Webflow a CMS or a web development tool? It's both, depending on what you need it to be. Now that you know the possibilities, it's time to explore Webflow and unlock your creative potential.