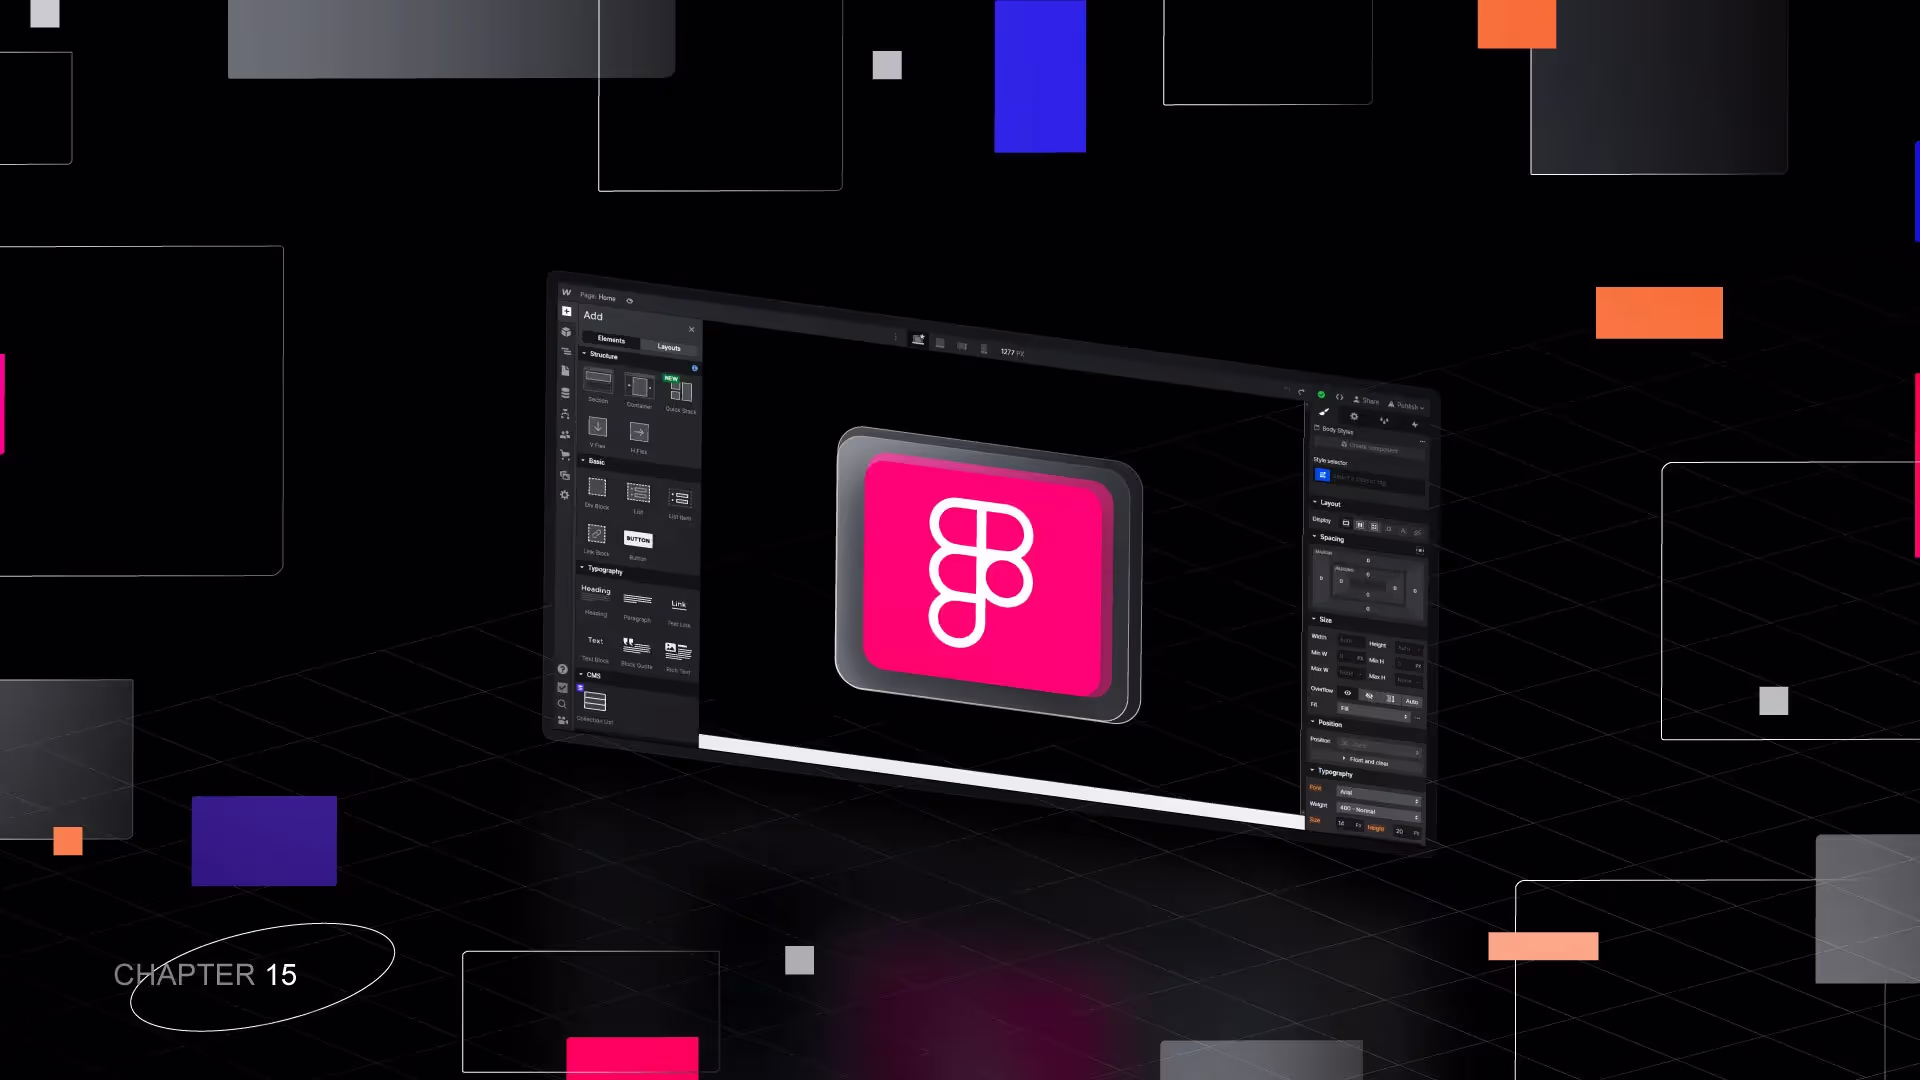
Figma to Webflow plugin built by Webflow Labs, is a game changer in the world of no code development. The Figma to Webflow plugin enables you to put your designs onto Webflow with a click of a button.
Designers who want to save time and effort creating websites can use the Figma to WebFlow Plugin to quickly and easily turn their designs into fully functional and responsive webpages.
In this post, we will take you through the steps on using the plugin, so you can start building beautiful websites in no time and tell you about some limitations which should be lifted as the plugin gets better.

How to Use the FIGMA To Webflow plugin?
Simple Setup
First step is to install the Figma to Webflow plugin, and then authorize access to the Webflow sites or workspaces you want to use for seamless design transfer. With the few clicks below, you'll be ready to supercharge your workflow.
To use the Figma to Webflow plugin, follow these steps:
- Open a Figma Account: Ensure you have a Figma account. If you don't have one, register at figma.com.
- Go to the Figma to Webflow Plugin Page: Click on the Try it out button in the upper right corner of the Figma page.
- Click on Run: This will open a new Figma design file and prompt you to select the option Run. This will request authorization from your Webflow account.
- Select Sites to Authorize: Choose which Webflow projects you want to authorize the plugin for. You can select all sites or specific ones. Click Authorize app when you're done.
- Open the Figma to Webflow Plugin in Figma: If the plugin doesn't open automatically, go to Resources > Plugins > Click Run on Figma to Webflow plugin.
- Design and Sync: Use the plugin to design and sync your Figma components and variables with your Webflow site. You can also use the Figma to Webflow App to sync changes from Figma into Webflow.
Additional Steps for the Figma to Webflow App
- Install the Figma Plugin: Go to Resources > Plugins in Figma and search for "Figma to Webflow" to install the plugin.
- Connect to Webflow: Open the Figma to Webflow plugin and choose to connect your entire Webflow workspace or specific sites. Authenticate the connection using your Webflow account.
- Select a Project in Figma: Go to the Design System Sync tab in Figma and select the Webflow site you authenticated in the previous step.
- Sync the Webflow App: Open the Apps panel in the Webflow Designer and launch the Figma to Webflow App. This will connect and sync the apps.
Troubleshooting and Feedback
- For any issues with the plugin, visit the Webflow Labs Community for support and resources.
- Share your thoughts, comments, and feedback on the plugin to help improve its functionality.
Key Features
- Copy and Paste: Use the plugin to copy and paste Figma designs into Webflow.
- Sync Design Systems: Use the Figma to Webflow App to sync design systems from Figma to Webflow, including components and variables.
- Import and Update Components: Import components from Figma and update them directly in Webflow.
- Webflow Figma Integration: Integrate your designs between Figma and Webflow using the plugin.
- Webflow Translation Plugin: Use the plugin to translate your designs into multiple languages within Webflow.
Additional Resources
- Webflow University Documentation: Learn more about the Figma to Webflow plugin and App through detailed tutorials and lessons.
- YouTube Tutorial: Watch a video tutorial on setting up and using the Figma to Webflow App.
Effortless Translation
Designing with auto layout in Figma is a breeze, and now you can effortlessly translate those designs into Webflow as responsive flexbox structures. Take control and fine-tune HTML tags directly within Figma, ensuring your site gets live faster than ever before.
Elevate Your Designs
With the Figma to Webflow plugin, you can bring your static designs to life using Webflow's powerful Interactions. Enliven your content by leveraging the robust CMS capabilities, creating dynamic and engaging web experiences.
Seamless Publishing
Once your masterpiece is ready, unleash it onto the world with just a single click. Webflow's fastest hosting infrastructure ensures your website performs optimally, offering visitors a seamless browsing experience.
Make your design process smoother, faster, and more efficient with the Figma to Webflow plugin. Embrace the power of this game-changing integration and take your design projects to new heights of excellence.
Tips and tricks for getting the most out of the Figma to WebFlow Plugin
The Figma to WebFlow Plugin is an incredibly powerful tool for designers and developers alike. It allows you to quickly and easily transfer designs from Figma to WebFlow, saving time and effort.
But, like all tools, it can be tricky to get the most out of it. Here are some tips, tricks, limitations and things to keep in mind that will help you get the most out of the plugin:
- Auto layout : All structures are to be built with Auto layout. It can be considered to be flexbox in Webflow.
- Ensure all frames, main and nested, are set with auto layout.
- Shapes and other elements are considered as images/vectors. Use Auto layout and then define HTML tags as headings, images, text, etc. Where necessary, nest auto layout structures.
- Classes: Adding elements one after the other would create classes automatically in Webflow. This would also follow Webflow rules of adding classes.For example: If we add a div block and don’t give it a class on Webflow. Make any styling change and Webflow will auto assigns the class Div Block to it. If we do the same thing with another div block, Webflow will give it the class Div Block 2. Likewise, in the plugin, if you keep adding text blocks without giving them the same class/name, they will automaitically get the classes text, text 2, and so on, on Webflow.
- Text Styles on FIGMA will be the name of the class for texts on Webflow. However, all text would be considered as div block/text block in Webflow. Define HTML properties by selecting the element and changing it within the plugin settings.
- Plugin has pre-defined layouts and structures that are responsive when moved to Webflow. There are 22 Layouts and 7 Structures which are pre-built.
- Manually built Auto Layout structures are not auto responsive on Webflow as of now. For example: 3 columns on desktop will be 3 columns in mobile.
- Spacing and sizing values are copied in pixel. If you want to change to responsive units you will need to change this manually on Webflow.
- You can copy all text styles and colour styles from the dropdown in the plugin. Following styles can be copied onto Webflow:Typography stylesBorder stylesShadow stylesBackground images and Linear GradientsVector and shape conversion to SVGsImagesOpacityAbsolute Positioning
Conclusion
The Figma to WebFlow Plugin is a powerful tool for designers looking to streamline their workflow. With this plugin, designers can quickly and easily transfer their Figma designs into WebFlow with just one click.
This eliminates the need to manually recreate designs in WebFlow, saving time and reducing the chances of errors. Additionally, the Webflow University is a great place to earn more about the Figma to Webflow plugin and App through detailed tutorials and lessons.
You can also try YouTube tutorials where you can watch a video tutorial on setting up and using the Figma to Webflow App. With the Figma to WebFlow Plugin, designers can quickly and efficiently create web pages that look great and function perfectly.