.avif)
Property Settings as Components is a concept that pertains to the design and development process within the Webflow platform.
In Webflow, components are reusable elements that can be created and applied across multiple pages or sections of a website. These Webflow reusable components enable designers to maintain consistency and efficiency by defining a set of properties and styles that can be easily replicated and updated throughout the project.
The Webflow's components variants and instances feature allows you to create reusable elements with customizable property settings, streamlining your web design workflow and ensuring consistency throughout your projects.
Step-by-Step Guide to Creating Webflow Components
Here’s a step-by-step guide to make full use of Webflow’s components, instances, and property settings for your projects.
Step 1: Access Your Webflow Project
- Log in to your Webflow account.
- Open the Webflow project where you want to create and use components and instances.

Step 2: Create a Component in Webflow
- Design the element: In the Webflow Designer, design the element you want to turn into a component. This can be a navigation menu, a button component, a card, or any other element you want to reuse.
- Convert It into a Component: Select the element you want to convert into a component. Right-click on the selected element and choose "Create Component" from the context menu to add it to your Webflow custom components library.
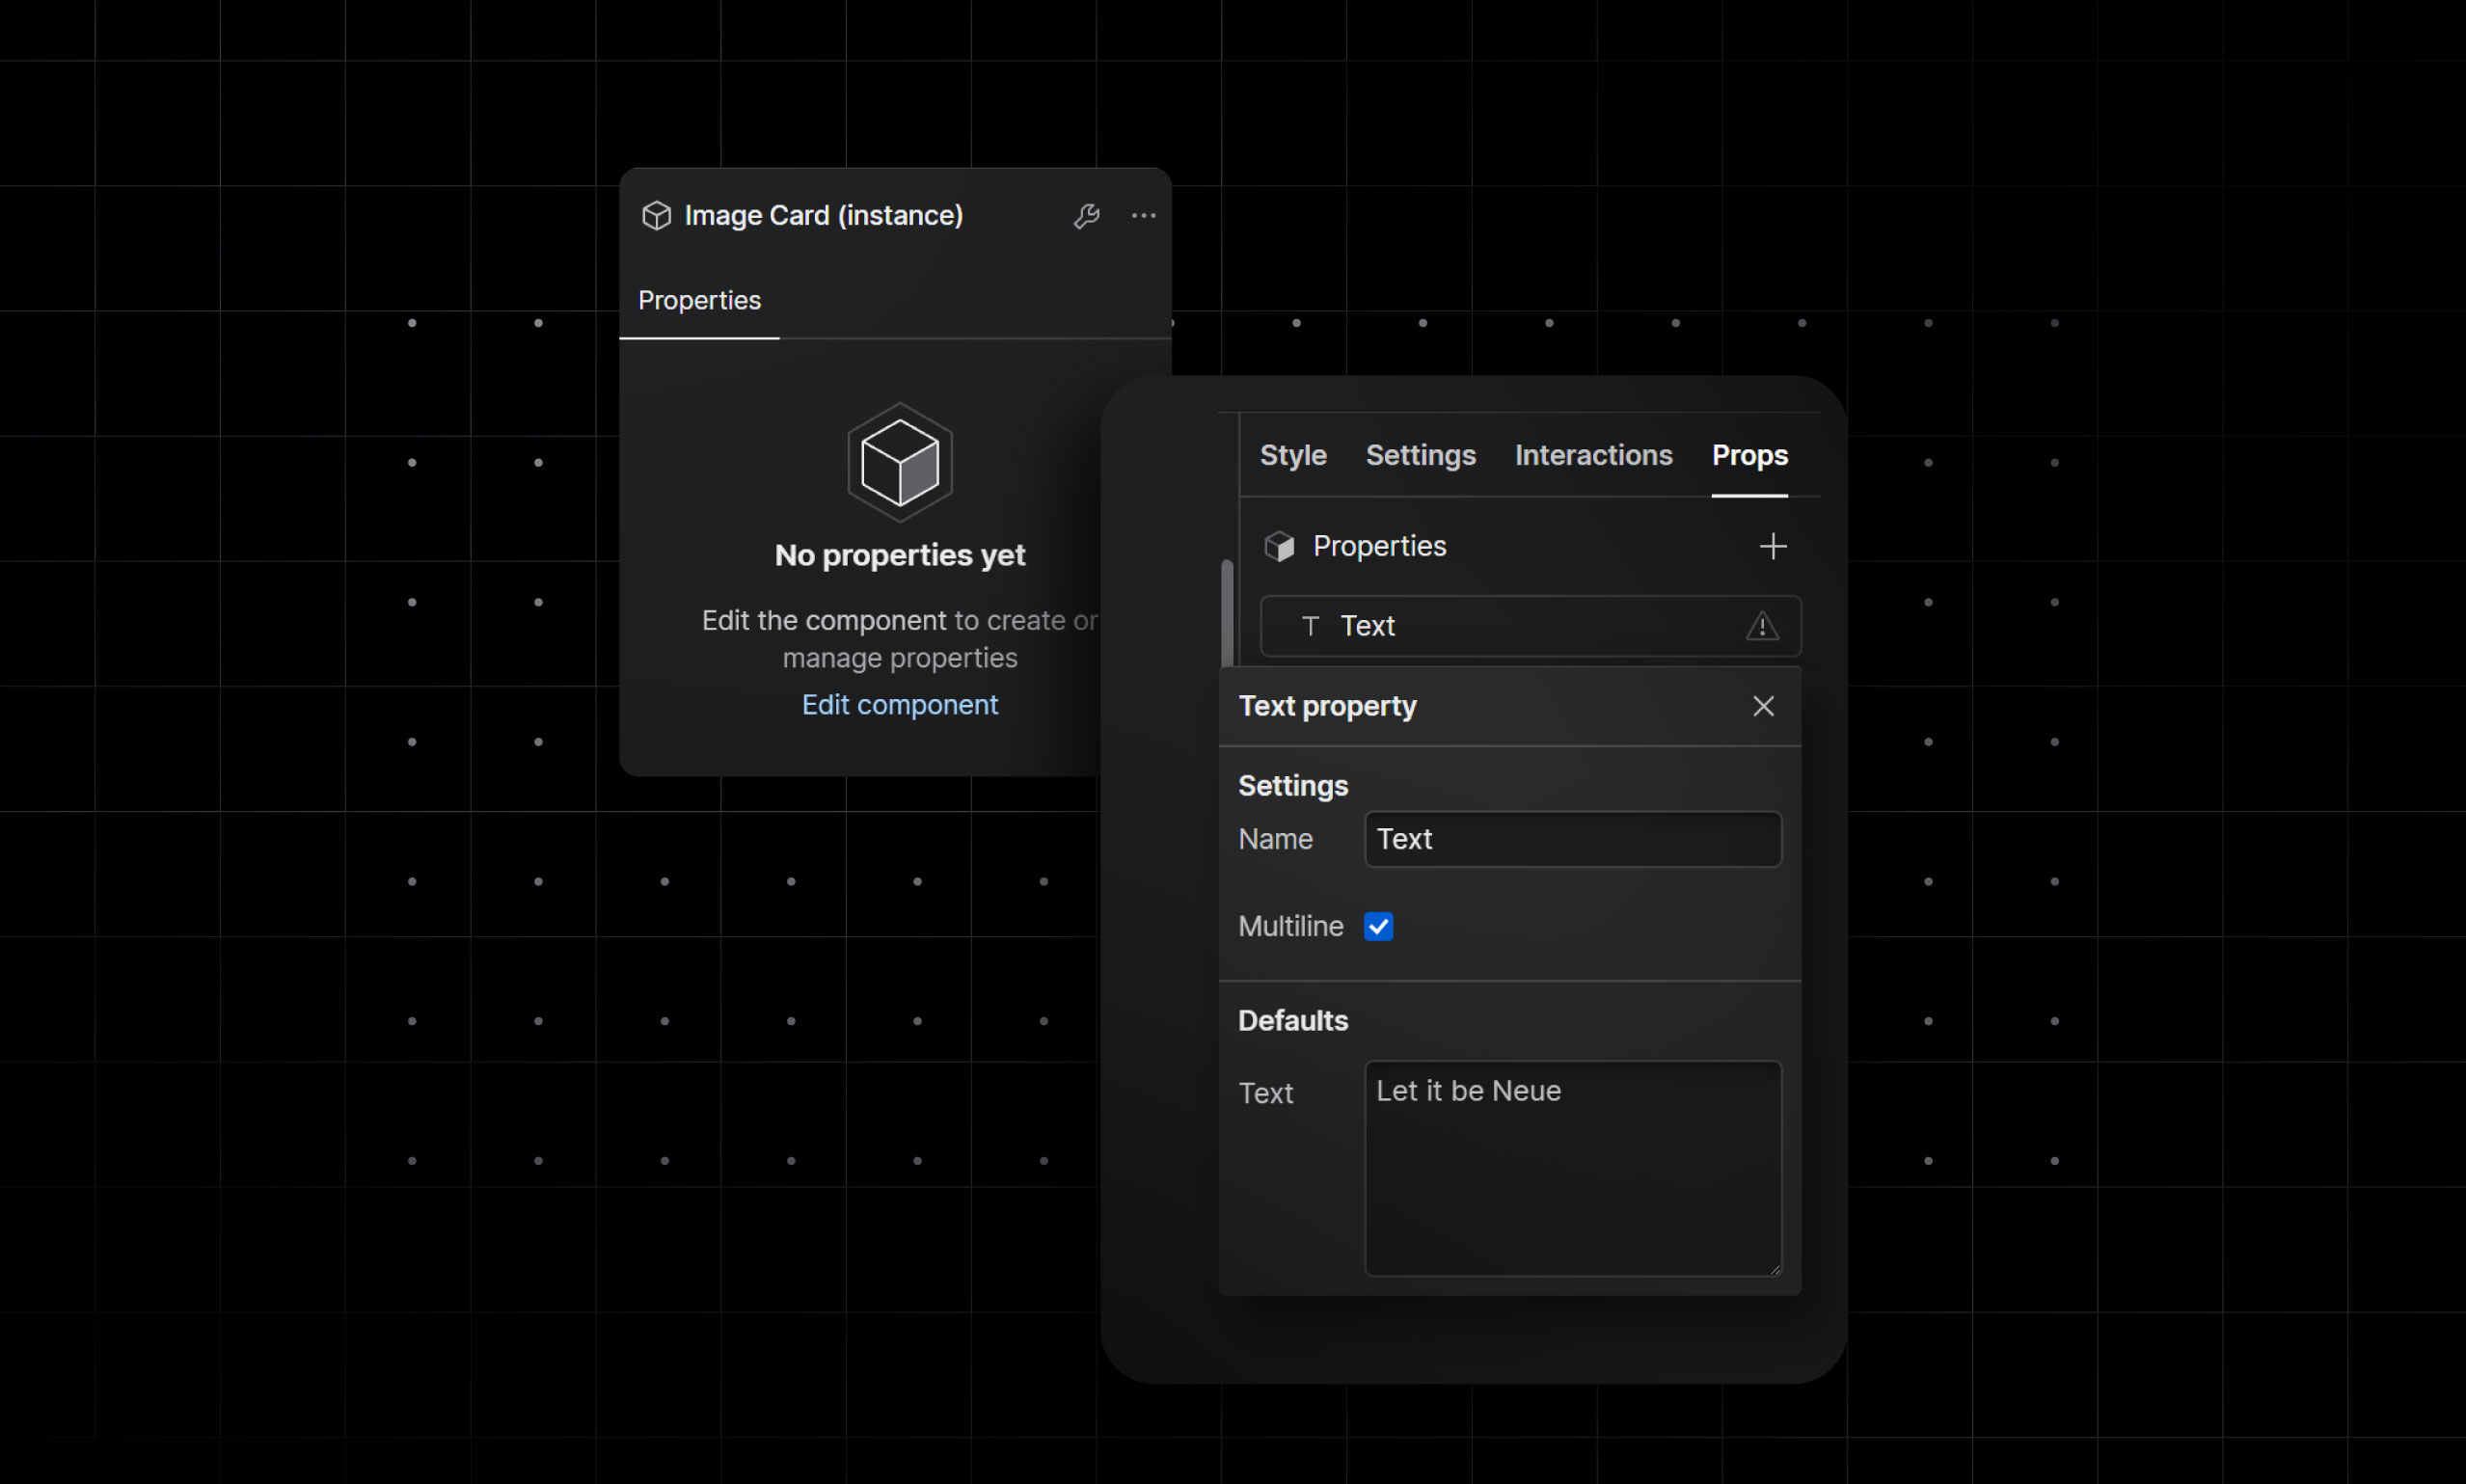
Step 3: Customize Property Settings
- Once you've created a component, it will appear in your Components panel. Click on the component to edit its properties.
- Customize the property settings in webflow. These settings can include text content, colors, sizes, fonts, or any other property that you want to make customizable.
Step 4: Using Webflow Component Instances Effectively
- Drag and drop instances of the component onto your pages. Instances are copies of the component that inherit the property settings you defined.
- Customize the content and appearance of each instance as needed. Changes made to one instance won't affect the others.
Step 5: Edit the Master Component
- If you need to make changes to the master component (the original), you can do so by selecting it from the Components panel.
- Any changes you make to the master component's property settings will automatically update all instances of that component throughout your project.
Step 6: Use Property Overrides
- While instances inherit webflow property settings from the master component, you can override specific properties for individual instances.
- Select an instance on your page, and in the right panel, you can modify the overridden properties without affecting the master component or other instances.
Step 7: Organize Your Components
- As your project grows, you may have multiple components. Use folders in the Components panel to keep them organized and easily accessible.
- Create folders and drag components into them to categorize and manage your components efficiently.
Step 8: Maintain Consistency
- Using components and instances helps maintain design consistency across your project. If you need to update a design element or property, simply edit the master component, and the changes will propagate to all instances.
- This ensures that your website remains cohesive, and you can make global design updates with ease.
Step 9: Publish Your Webflow Project
- After creating and using components and instances, save your changes in the Webflow Designer and review in Webflow edit mode.
- Publish your Webflow project to make your website live with the updated design.
Conclusion
Working with Webflow components and instances, especially property settings as components, is a powerful way to streamline your web design process and maintain design consistency throughout your projects.
If you're designing a small portfolio site or a complex web application, leveraging Webflow's components and instances feature can significantly enhance your workflow and enable you to create visually stunning and consistent websites with ease.
Take full advantage of this feature in your web design projects, and you'll find yourself designing more efficiently and effectively, leaving you with more time to focus on creativity and innovation.
FAQs
How to Duplicate a Component in Webflow?
To duplicate a component in Webflow, right-click on the desired component in the Designer view and select "Duplicate" from the context menu. This creates an exact copy of the component within the same page or project. For reusable elements like Symbols, you’ll need to detach them before making changes.
How to Edit Components in Webflow?
To edit a component, click on it in the Designer view. For simple components, modify styles, content, or settings directly. For Symbols or Collections, edits may update all linked instances unless unlinked first. Use the "Style Panel" for design tweaks and the "Element Settings" panel for functional changes.