
How to Change Color of SVG on Hover in Webflow?
In this tutorial, we will guide you through the steps to change the color of an SVG file on hover in Webflow. SVG files are a popular format for icons, logos, and other vector graphics on the web, and being able to customize their appearance on hover can add an extra layer of interactivity for your website's users.
By following the instructions in this tutorial, you'll be able to easily change the color of your SVG files when a user hovers over them with their mouse. This can be applied to a variety of elements on your website, such as buttons, text, or any other element that includes an SVG file.
The process involves adding custom code to your Webflow site, as well as setting custom attributes for the elements you want to apply this effect to. But don't worry, we'll guide you through each step in detail to ensure that you can successfully implement this feature on your website.
With this tutorial, you'll have a valuable tool in your web design arsenal that can help you create more engaging and interactive web experiences for your users. So let's get started and learn how to change the color of an SVG file on hover in Webflow!
Step #1
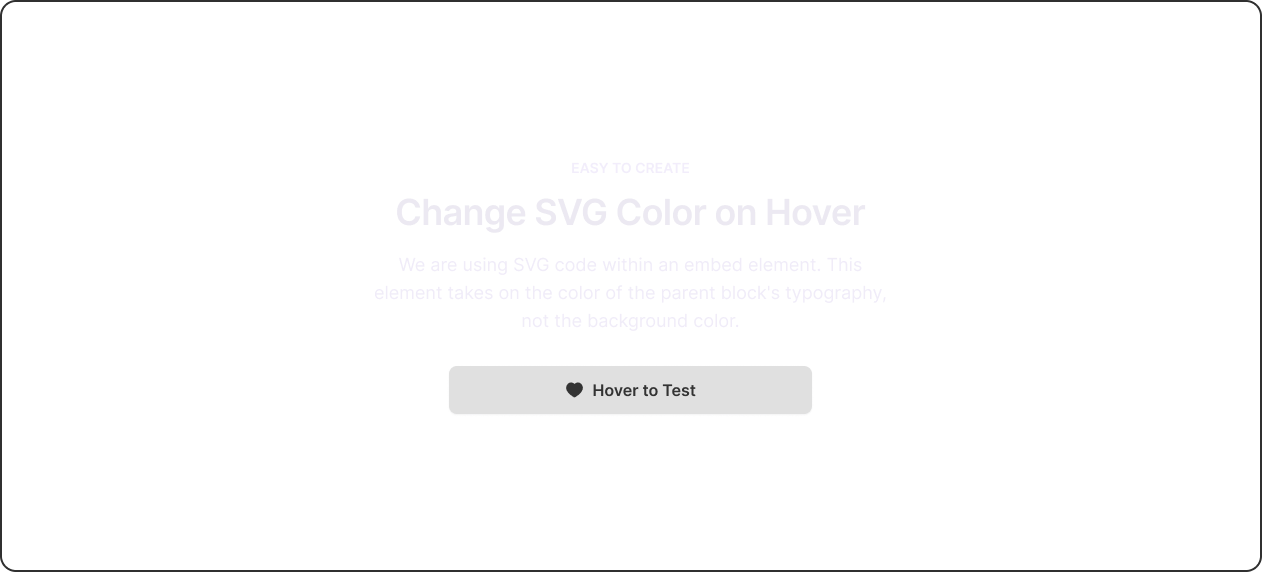
Create an element with SVG Icon
To get the most out of this tutorial, we suggest that you first create a simple button on WebFlow with an SVG icon on it. Ideally, the button should have a grey fill and black text and icon. You can download a free SVG icon from FeatherIcons. For this tutorial, we will be using a simple heart icon.
Step #2
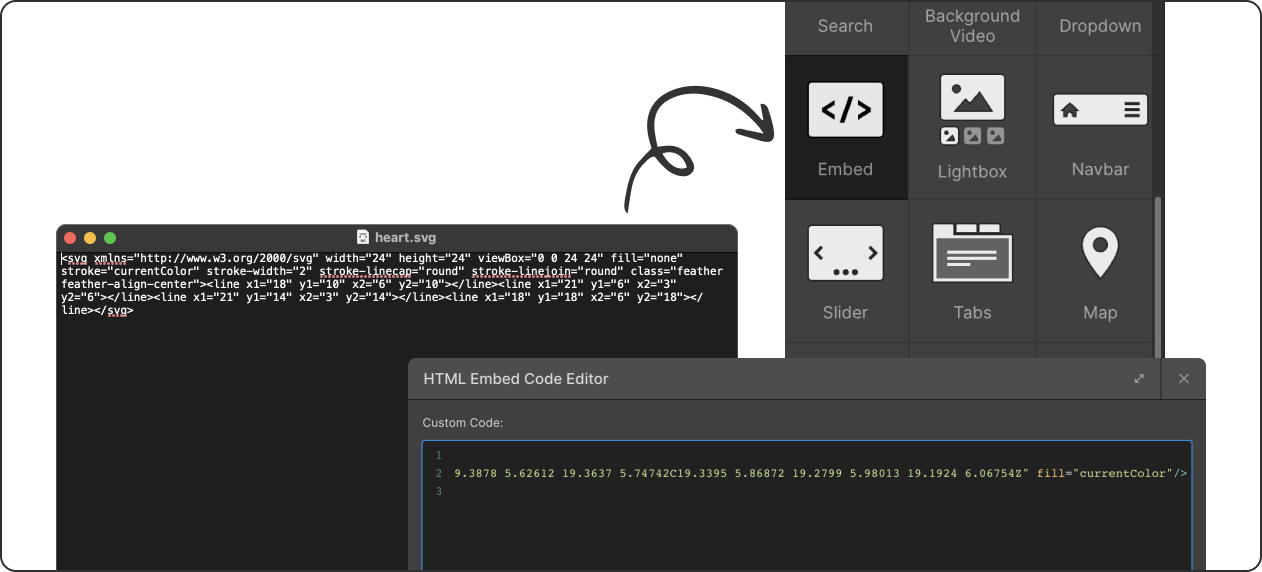
Creating an Embed Element
Open the downloaded SVG icon, use any text editor. For Mac, you can use TextEdit, and for Windows, you can use Notepad. Copy and paste the code into the WebFlow embed. Look for the SVG paths' fill and change the hex code to "currentColor".
Step #3
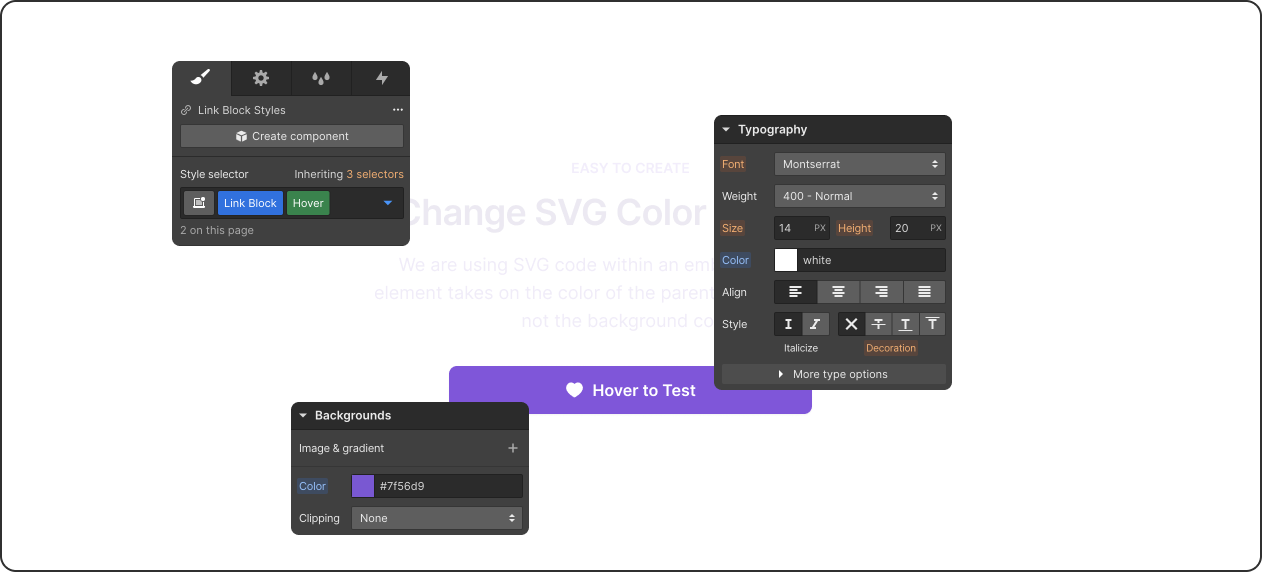
Create Hover Animations
You can use Webflow animations to change the states of an icon on hover, click, and more. Alternatively, you could use a single SVG embed element across different locations and adjust the parent typography color to display the same icon in different colors.
How to Change SVG Color on Hover in Webflow
Webflow change SVG color on hover (no-code method):
- Upload SVG as inline embed code (not image)
- Select SVG element in Webflow Designer
- Add hover interaction to parent element
- Change fill color in hover state styling
- Set transition duration for smooth color change
Visual tip: Use combo classes for different hover colors across multiple SVGs without duplicating interactions.
Change SVG Color on Hover CSS Method
Change SVG color on hover CSS (code approach):
Embedded SVG: Add CSS code to change colors directly when hovering over your icon or graphic.
Image SVG: Use color filters to adjust appearance, but embedded versions give you more flexibility and easier control.
Key difference: Embedded SVGs let you change specific parts; image files need workarounds for color changes.
Try it: Live Demo - Interactive playground showing both methods with editable examples you can test.
